Audio visualizer, oscilloscope from a laser pointer
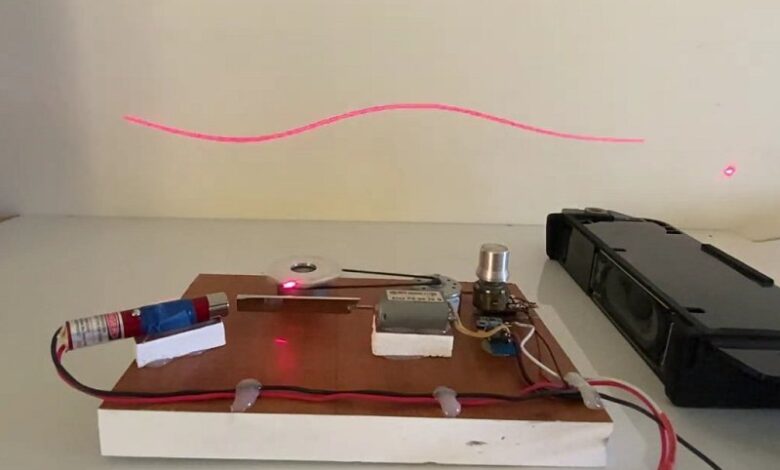
Music lovers will like today’s DIY, we will make an audio visualizer or oscilloscope from a laser pointer and motors, and it will depict waveforms on your wall to the beat of the music, which will make listening to music even more enjoyable.
Details and parts:
- Laser pointer;
- A piece of wood;
- DC motors, 4-6 volts – 3 pcs;
- Variable resistor 100k;
- Hard drive;
- Rubber belt;
- D2822 (TDA2822) chip – https://s.click.aliexpress.com/e/_Dl5NZhb;
- Hex mirror from laser printer;
- A 5-volt power supply.
How to make a laser oscilloscope, instruction:
I cut off the wires from one of the motors, made a small hole in a wooden board, and inserted the motor shaft into this hole so the motor could rotate.

Glue the second motor to the hot glue and put a rubber belt on them.
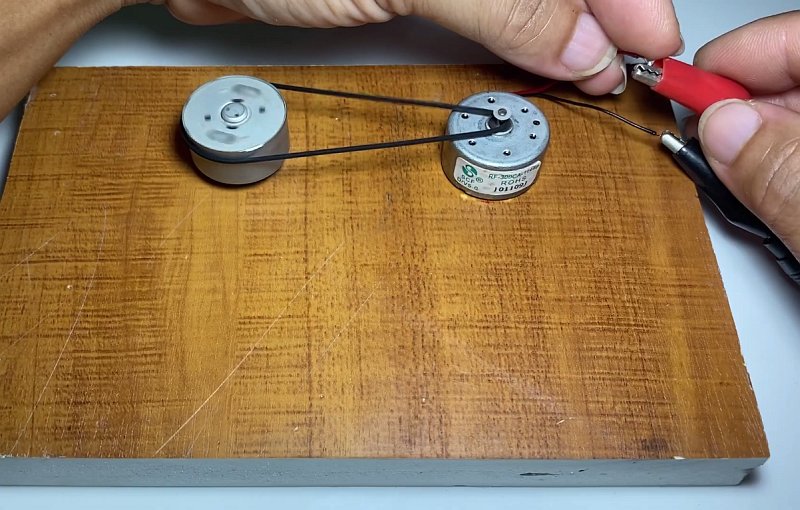
Next, you need to solder the 5-volt power wires to the motor, through the control potentiometer. It adjusts the speed of the motor.
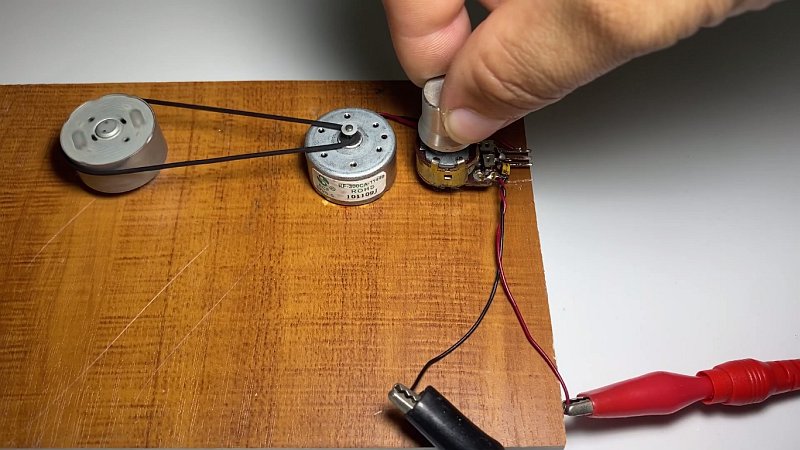
From the old HDD, you need a mirror disk and cutting a small piece from it is necessary.
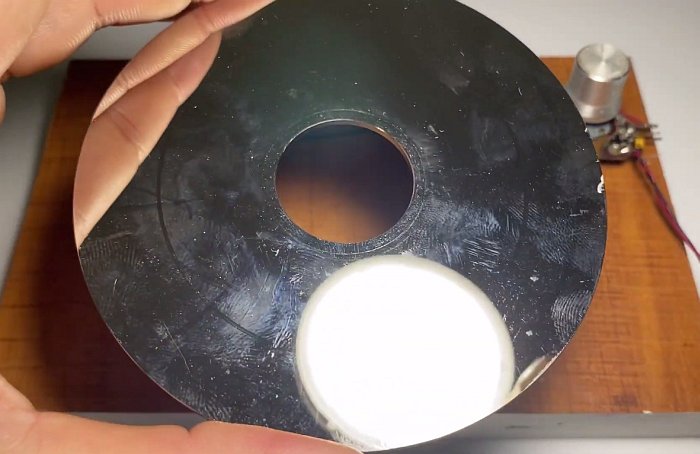
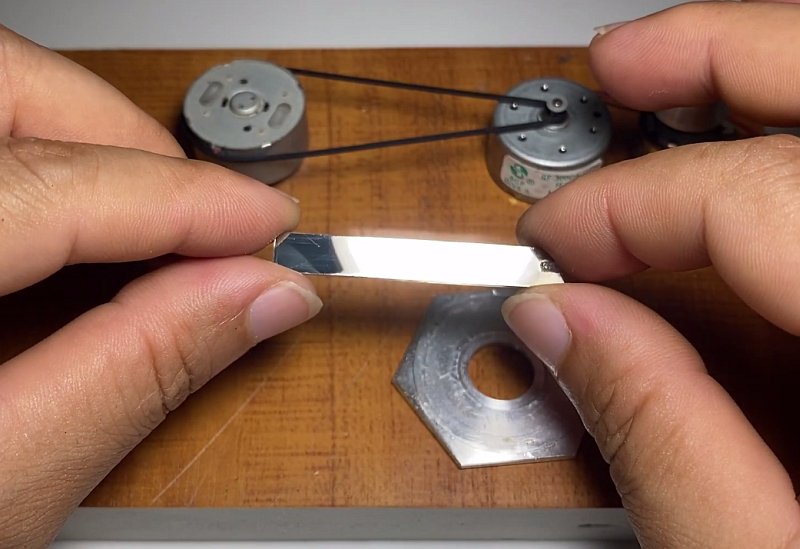
We also need the rotating scanning hex mirror from the laser module of the laser printer.
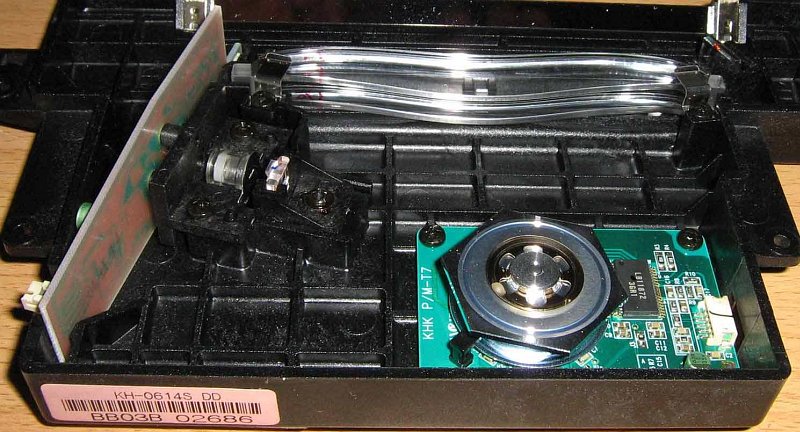
The hex mirror has to be glued to the top of the first motor.
Make a blind hole in a piece of mirror and put it on the motor shaft. Drop a little cyanoacrylate glue in there.
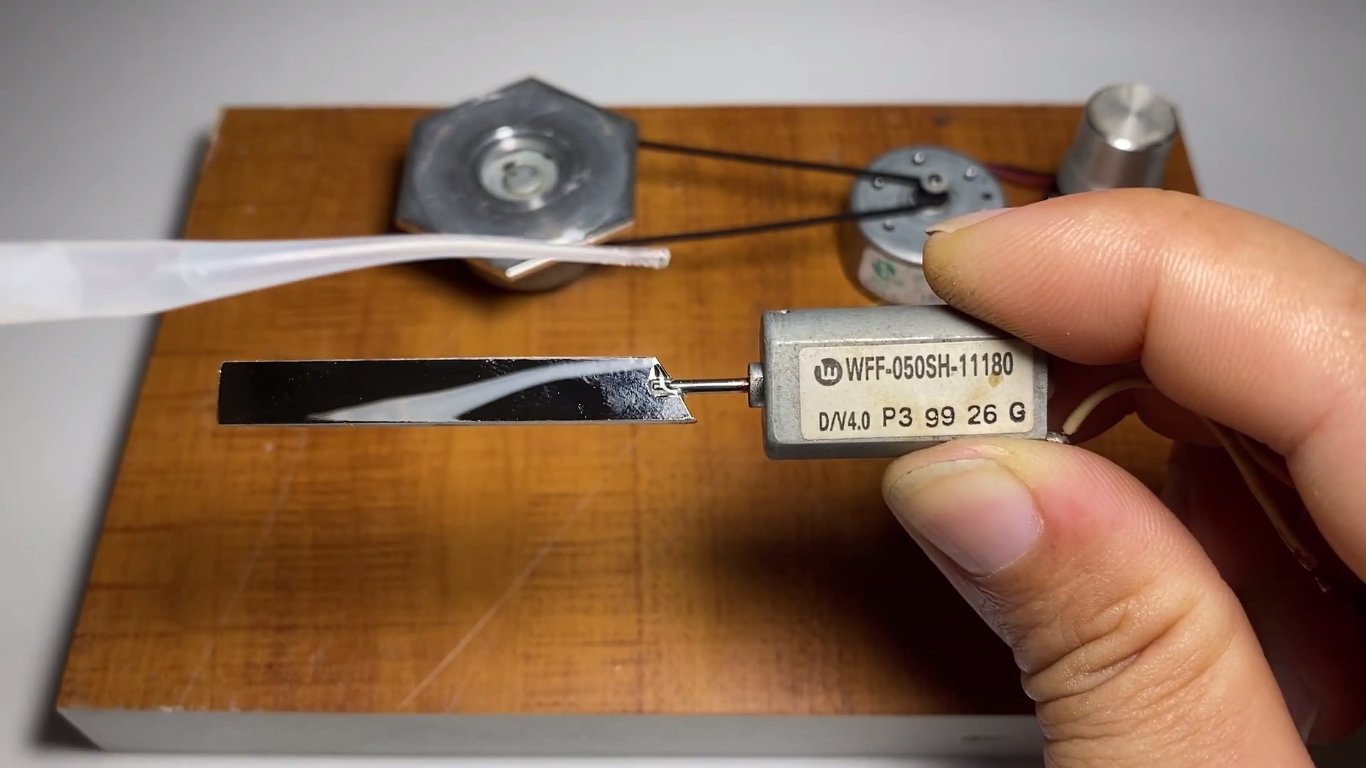
Now I glue the motor to the board with hot glue.
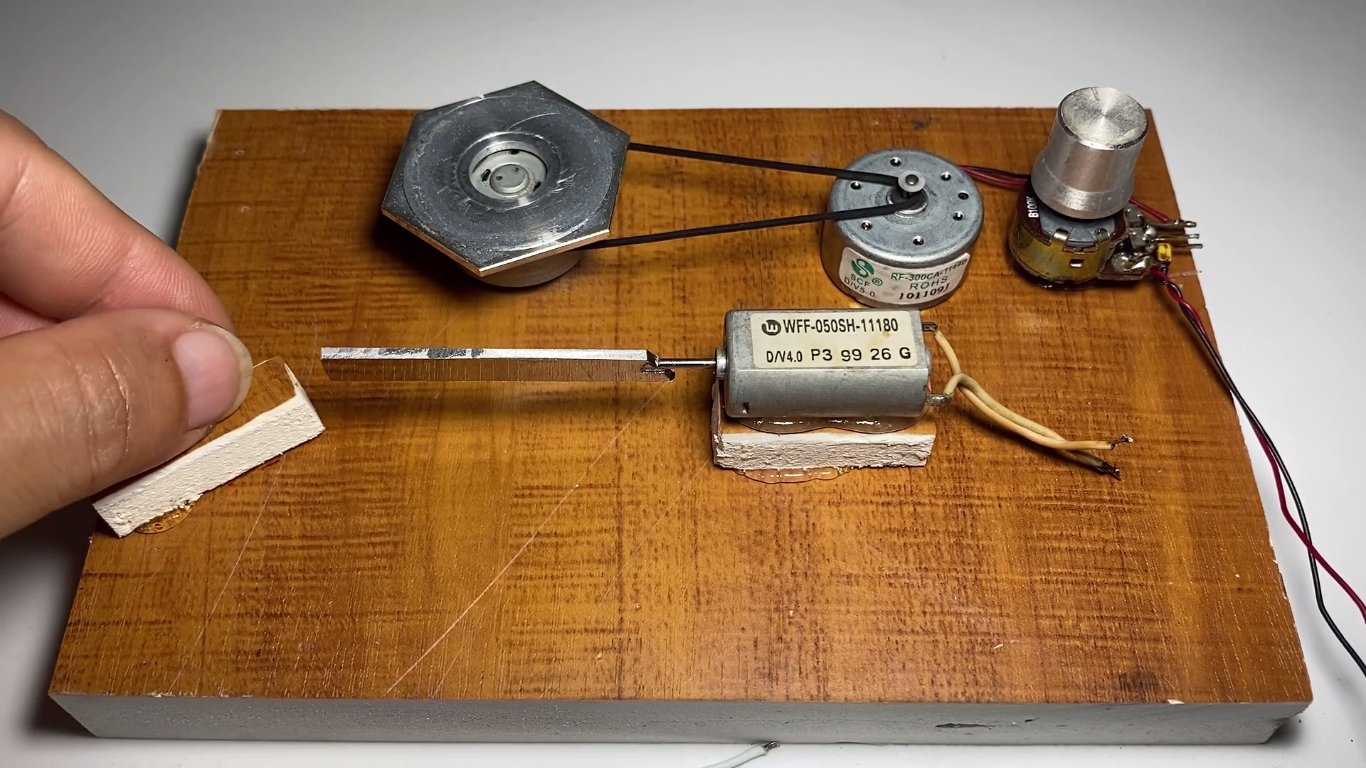
The laser pointer needs to have power wires connected to it. We glue it to the stand. It is necessary to place it so that the laser hits the side edge of the hexagonal mirror, and further is reflected in the center of the second mirror. And then from the second mirror, the laser beam of the oscilloscope is projected onto the wall.
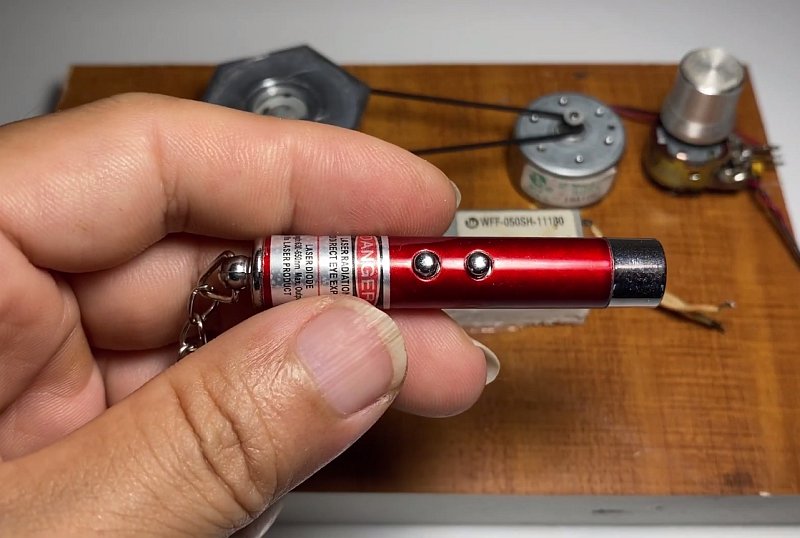
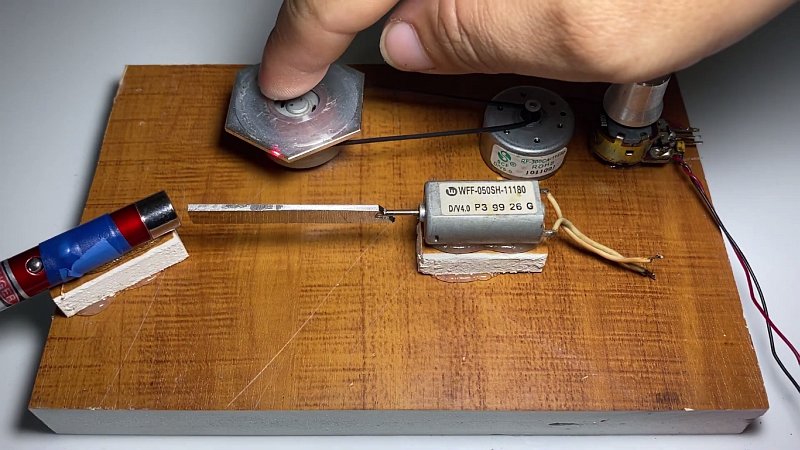
Connect the amplifier to the third motor. Circuit of the sound amplifier for the laser audio visualizer on the TDA2822 chip:
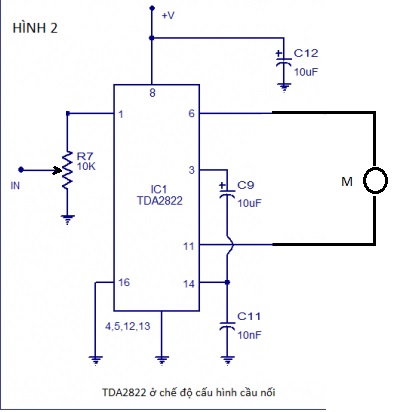
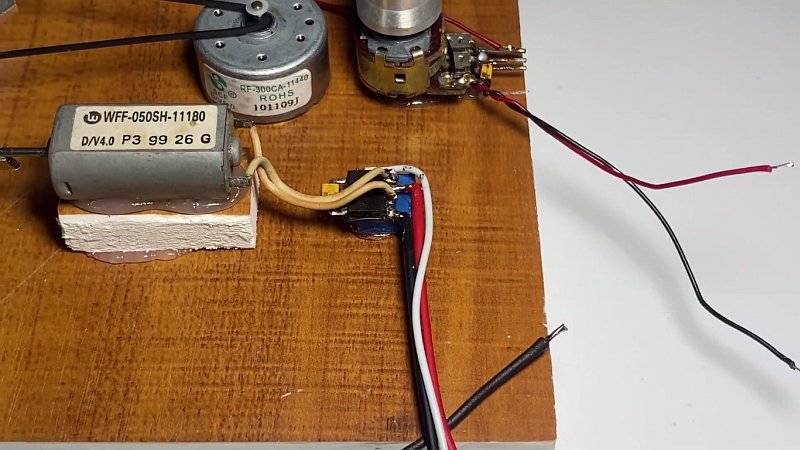
Now, all the components of the audio oscilloscope need to be connected to a 5-volt power supply and glued to the base.
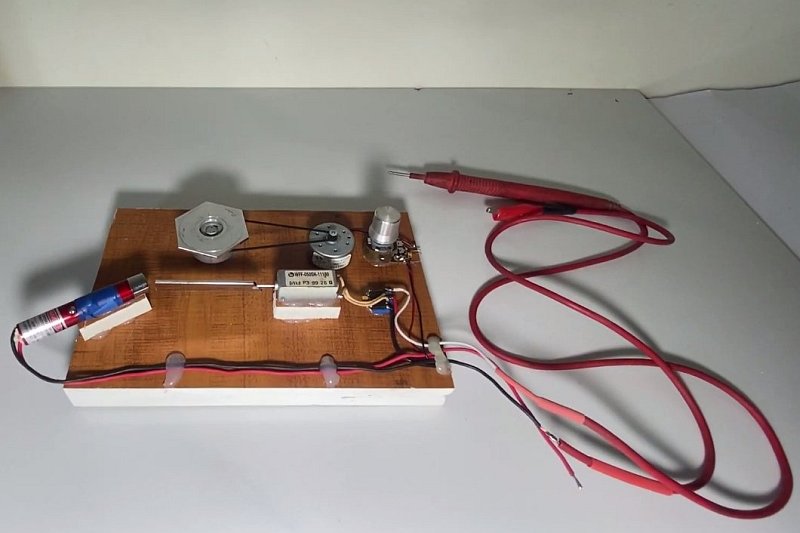
When adjusting the unit, you can manually rotate the hex mirror to make sure that the laser runs along the wall from one side to the other. The location of the laser on the wall height is adjusted by turning the second long mirror.
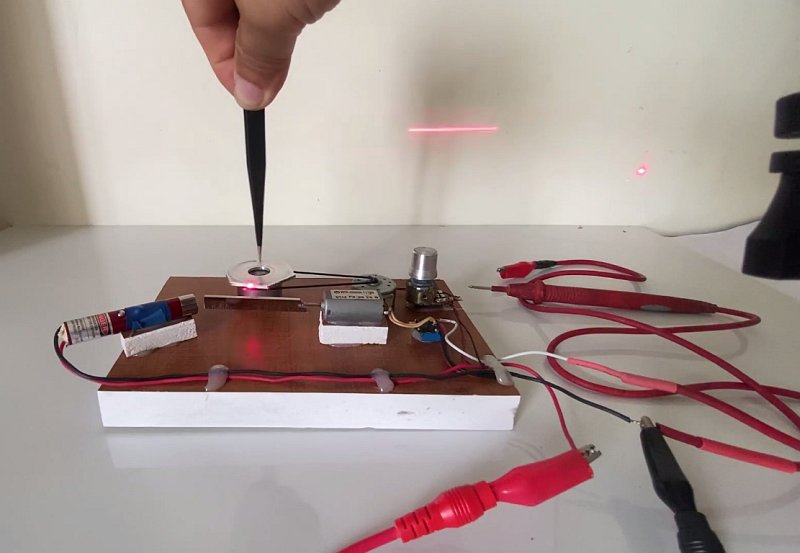
Then by turning the potentiometer knob, we achieve rotation of the motor with the hexagonal mirror, so that a strip is drawn on the wall by the laser.
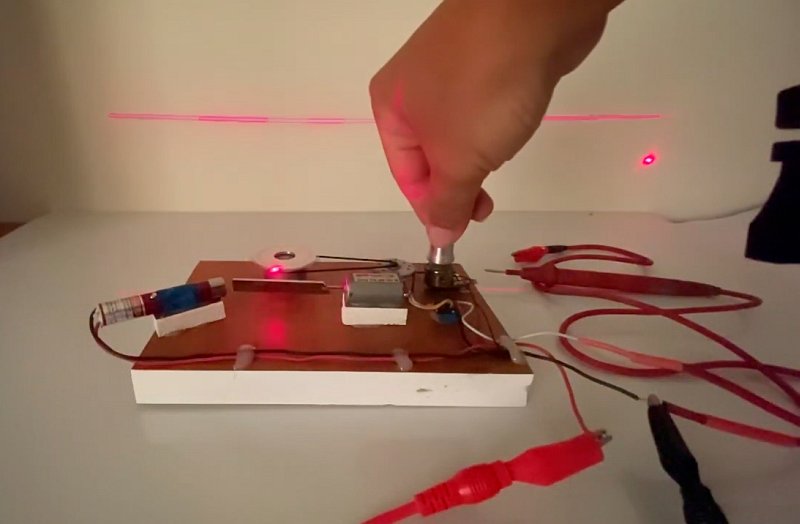
Connect a sound signal or music to the input of the amplifier and this laser oscilloscope will draw a beautiful waveform on the wall.
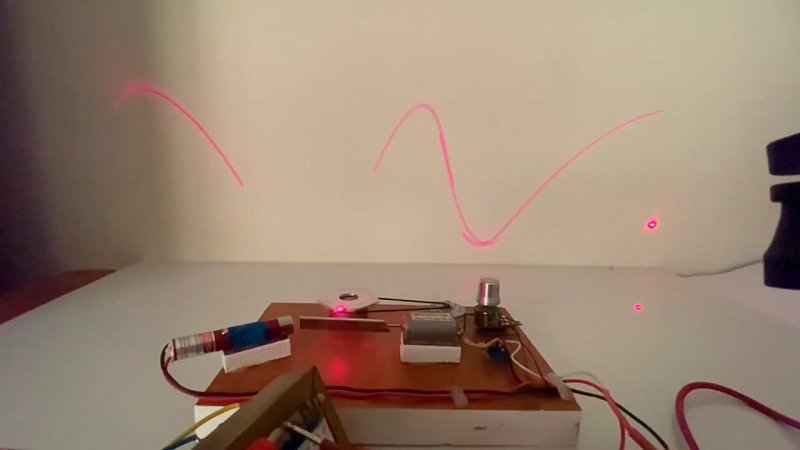
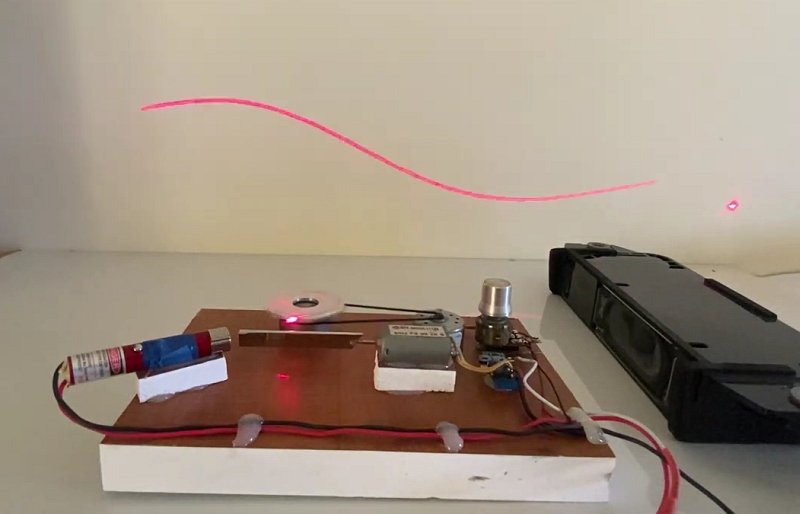
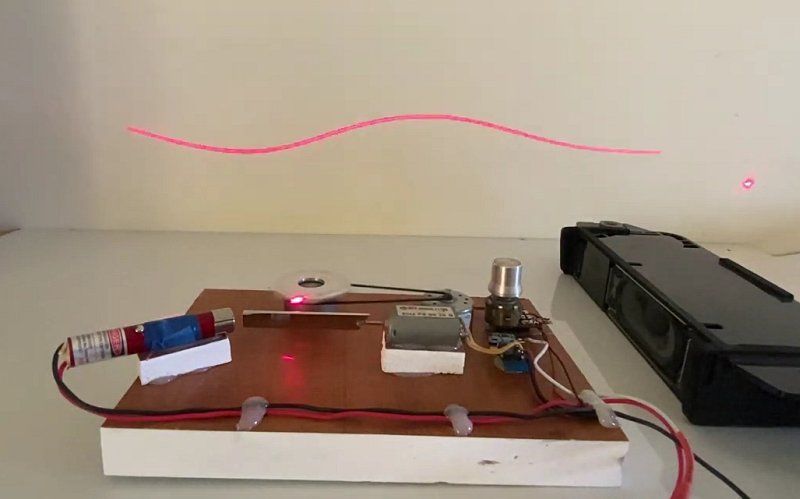
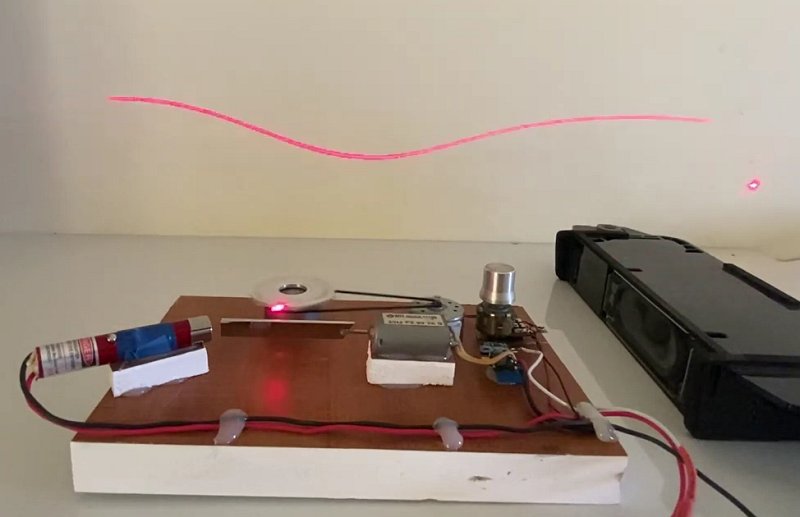
Watch a video of how this homemade audio analyzer-oscilloscope works:
