How to make an electronic tin whistle

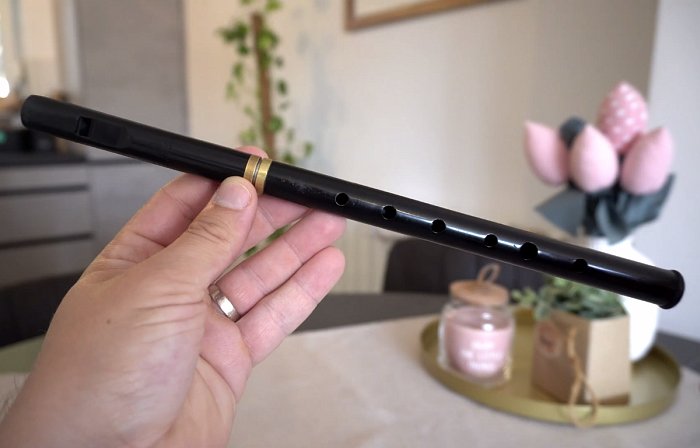
I have a real Tin Whistle (Irish penny whistle), as it looks you can see in the picture below. This is a tin whistle, a simple traditional Irish musical instrument with six holes; you can hear it in many Irish folk songs. Yes, it sounds lovely but let’s use our electronic skills to make our own version of the tin whistle.
Details and parts:
- Push button switch – 7 PC. – https://s.click.aliexpress.com/e/_DD4vsAp;
- Arduino Uno with ATmega328 – https://s.click.aliexpress.com/e/_Dc9Neol;
- 16 MHz crystal oscillator;
- 22nF capacitors – 2 pc.;
- 10mFx16V (10-50V) capacitor;
- 10k resistor;
- 1000k resistor;
- 3 mm LED;
- Buzzer – https://s.click.aliexpress.com/e/_Dda69Xr;
- Micro limit switch – https://s.click.aliexpress.com/e/_DkpExcD;
- Li-ion battery 3,7V.
How to make an electronic Irish penny whistle, step-by-step instructions:
Instead of holes, I will need a few push buttons, I will also need a microcontroller from my Arduino board and a few components, and of course, a custom PCB and here, and it is the mighty flute of doomsday. No this is not a fancy midi controller it will not produce high-quality audio sound is produced by a simple buzzer yes buzzer is the most annoying speaker in the world; you can hear how it sounds in the video at the end of this article.
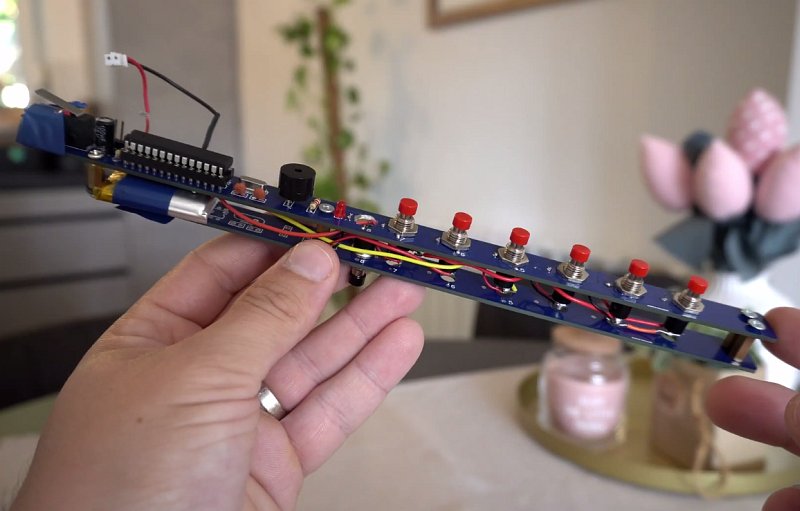
You can order this PCB here: https://www.pcbway.com/project/shareproject/Electronic_Tin_Whistle_512f1d14.html.
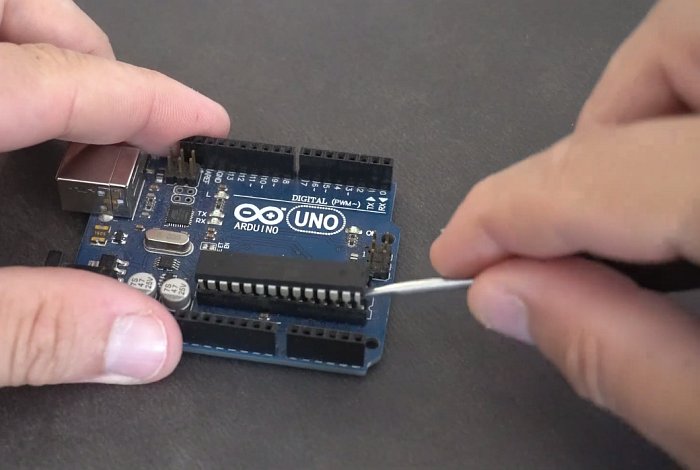
The programming code for our Arduino Tin whistle can be found here: https://github.com/VolosR/TinWhistle. You will upload code to Arduino Uno, remove MCU from Arduino and install it on the whistle. You can program different scales tunes there are many possibilities.
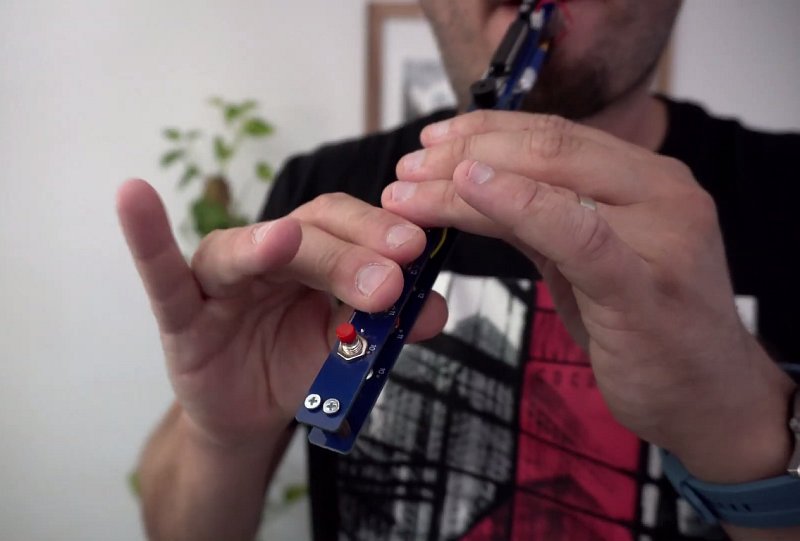
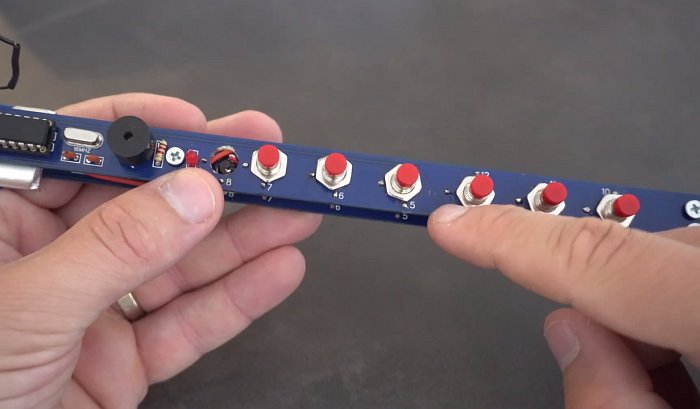
This electronic Tin whistle has six holes, these red push buttons represent these six holes and with this one, this black one on the bottom of the whistle I can play the next octave so here is a whole range of notes I can play.
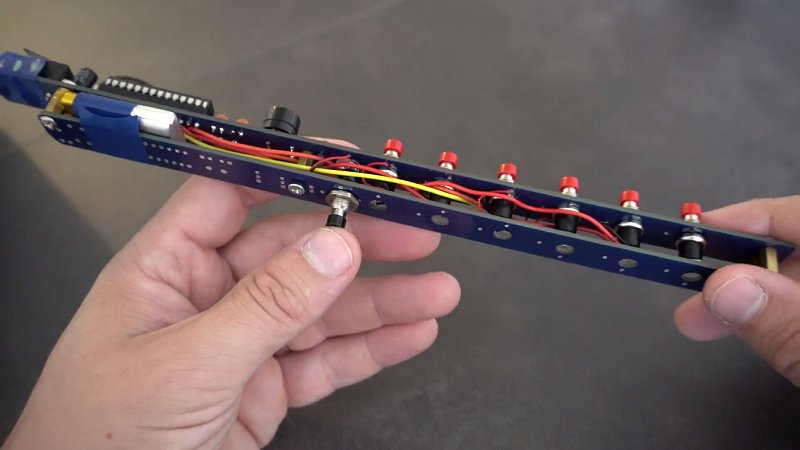
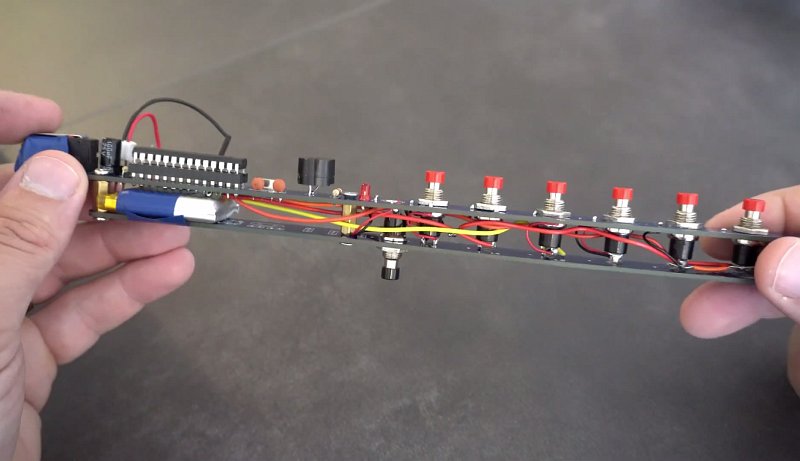
In addition, all wind instruments can produce notes only if you blow air into them so here is a switch for that I know I know not the best solution you can recommend me something better in the comments maybe some air sensor.
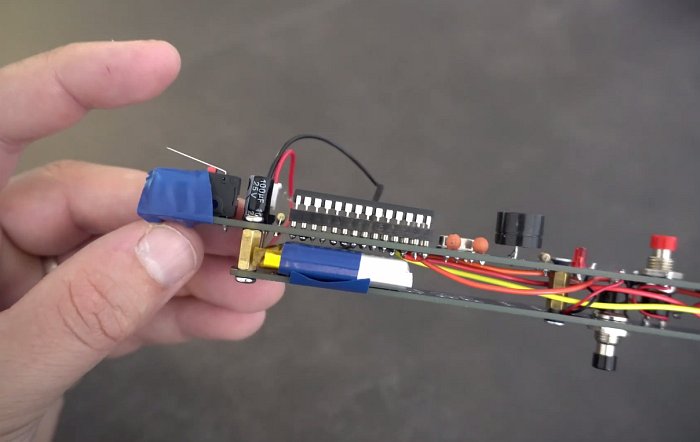
On the PCB I have a resistor and led which I turned off because the light was annoying and I want to save battery power battery is a regular lithium regular 3.7 Li-ion battery to charge. For the battery, you will need an external charger and an off switch is also missing because of lack of space I guess so to turn it on and off I need to connect this connector I know the clumsy solution but the next version will be much better.
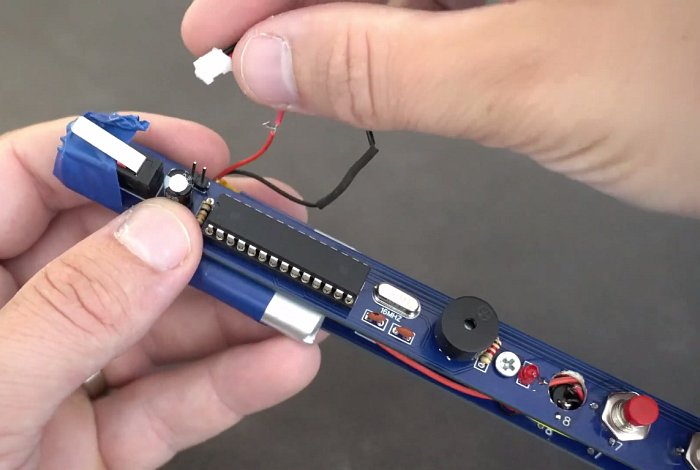
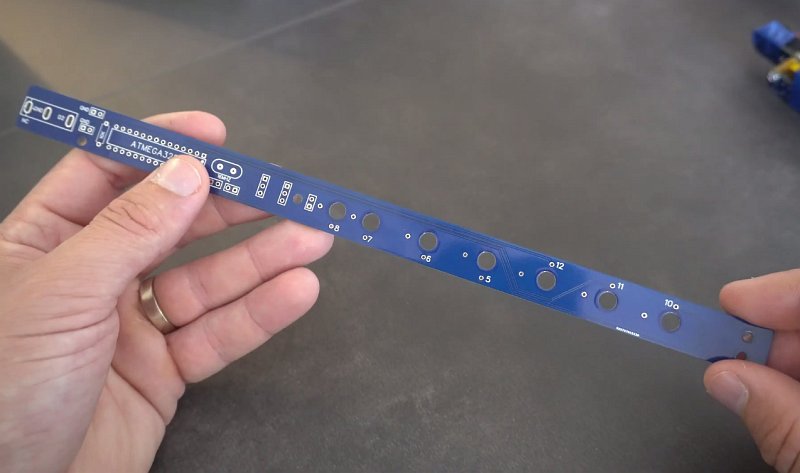
When designing the circuit board I made two mistakes, the holes at the top of the whistle are too narrow and the press button switches do not go through them so I had to drill them out. Also, the silkscreen for the microcontroller is not correct, the marker of its first leg should be on the other side, so if you repeat this project then turn the microcontroller the other way. The new version of the board, in the link above, will already have this marked on the board and the holes fixed.
You need to insert the push buttons into the holes on the printed circuit board and fix them with nuts. Then solder one pin to the hole next to it, which is the ground, and the second pin to the hole with the digit (5, 6, 7, 8, 10, 11, and 12). The numbers of these holes correspond to the legs of the Atmega328 microcontroller and you have to wire to these legs accordingly.
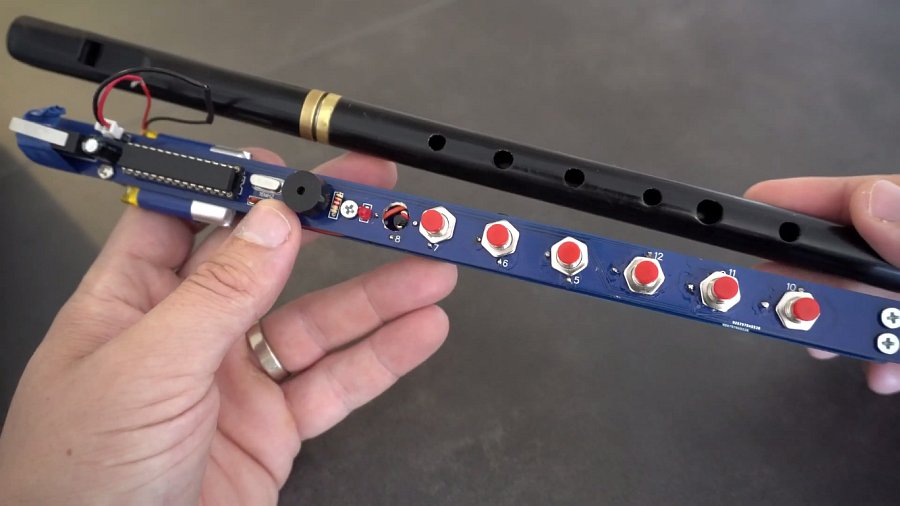

After you have made an Irish penny whistle you can try to play on it, of course, this is not a full-fledged replacement for a real musical instrument, but practicing the skills of playing this instrument will do well. Below in the video you can see how I play on my homemade electronic tin whistle.
