How to make a neon sign with the flexible neon LED strip
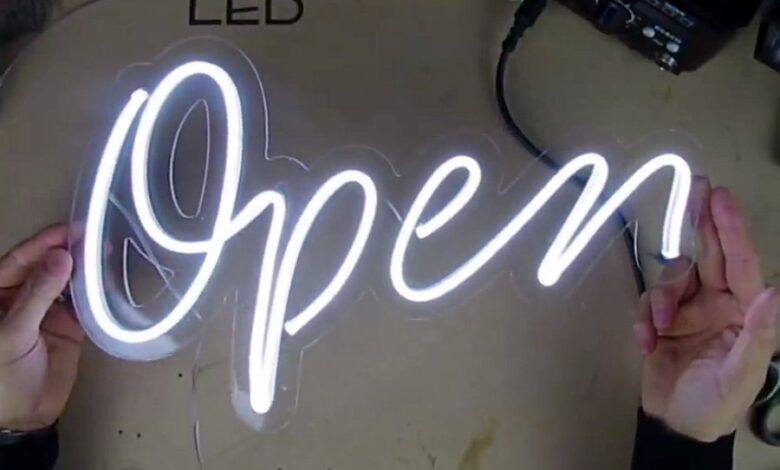
Today I’m going to show you how to make a neon flex sign with a bit of time and patience you can make some beautiful signs or graphics out of this flexible neon. In this article, I will show how to make a neon sign with a flexible neon LED strip in two ways: with the use of a CNC milling machine and without it. First, I will show how to make it without milling on the CNC router.
The tools and materials you need:
- 6×12 mm white neon flex with a 10mm cut point – https://s.click.aliexpress.com/e/_Dk1WSMz;
- Neon Strip 6×12 mm End Caps – https://s.click.aliexpress.com/e/_DFzgVWH;
- 5 mm clear acrylic sheet;
- Paper template;
- Sharp knife;
- Scissors;
- Scalpel;
- Pen;
- Soldering iron;
- Several pieces of twin cable;
- Paper tape;
- Instant glue with activator.
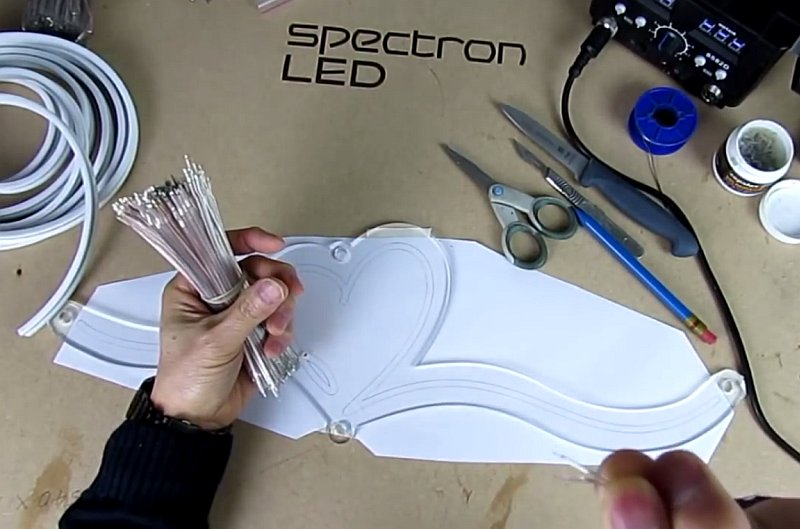
How to make a beautiful neon sign from LED flexible silicone neon strip, instructions:
Now, we will need a transparent sheet of acrylic that is cut to the shape of the sign. On the bottom side is a sheet of paper glued with paper adhesive tape, on the paper is drawn a template, which serves as the direction for the LED strip.
First, we need to remove the film from the acrylic material, and then we need to wipe it with an anti-static cleaner to remove the static charge that appeared after the removal of the film.
As you can see, in one place the band of LEDs is torn, at the place of the tear in the acrylic base previously drilled two holes.
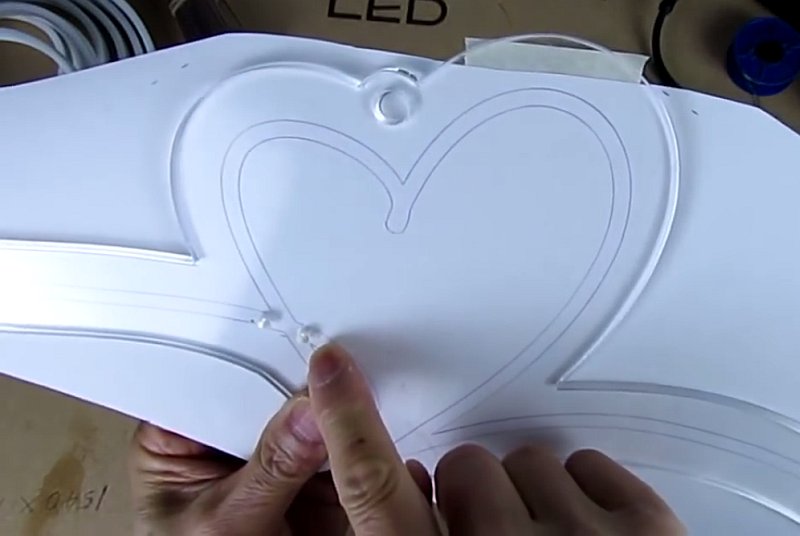
Now we are going to cut this LED strip to size, it is recommended to cut the LED flexible strip a little bit bigger in size and you can always trim it after that. If it’s too short you’ll be struggling and you might have to start all over again.
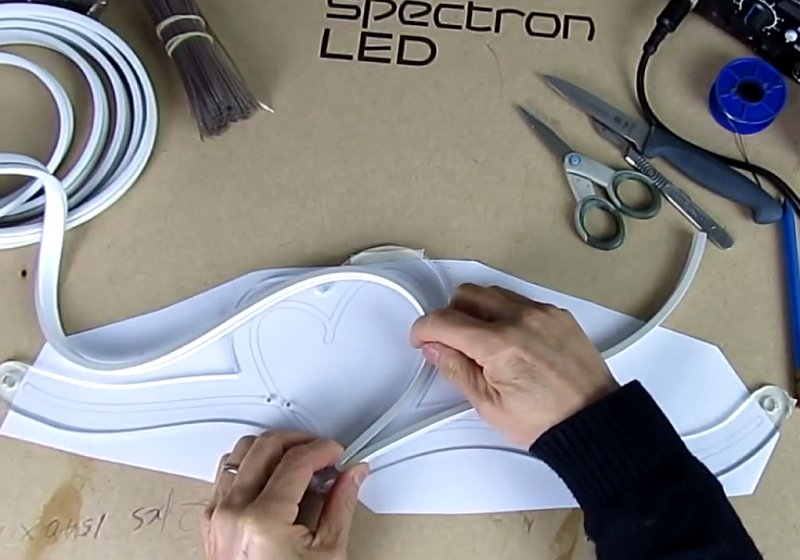
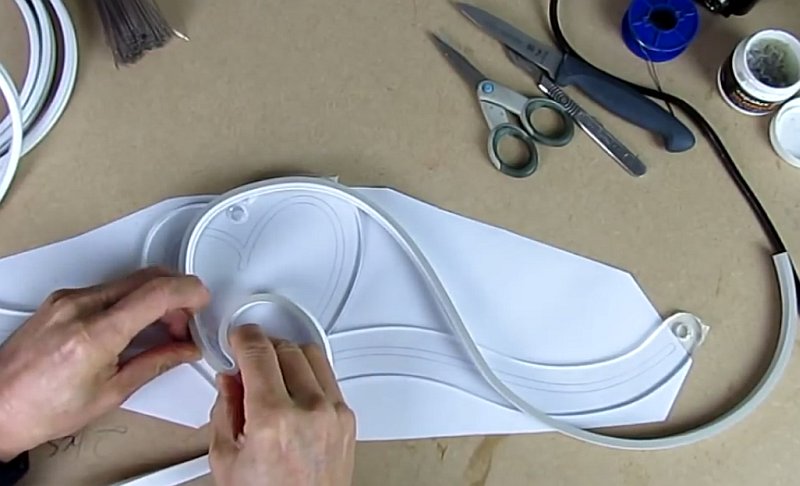
I bought an LED strip with a 10-millimeter cut point you see the black marks on it that is where cut points are which is 10 millimeters which is one of the smallest cut points you can buy. Most of them are 25 millimeters, so a 10-millimeter cut point allows you to create a more precise and accurate design compared to some of the longer cut points available.
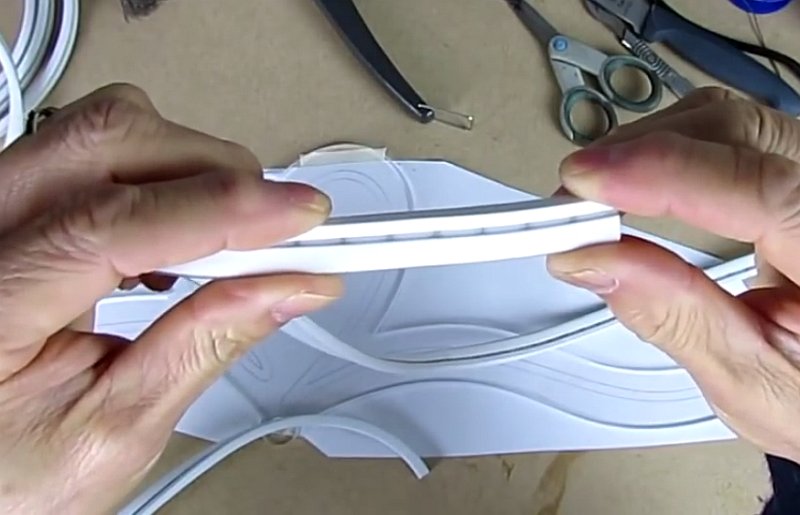
As you can see there is going to be an angle there so I’m going to angle this to do this you need to have a pretty sharp knife.
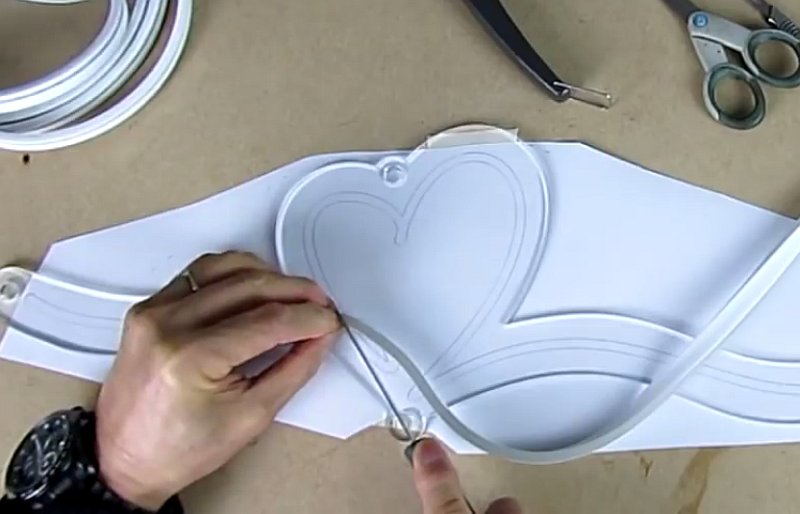
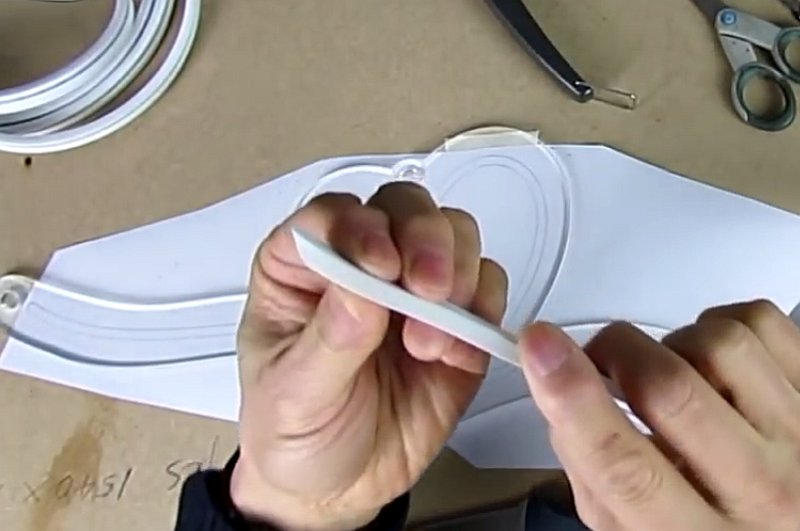
Now we need another section of the LED strip to finish the composition of the sign. We cut again a little more in size at the cut mark.
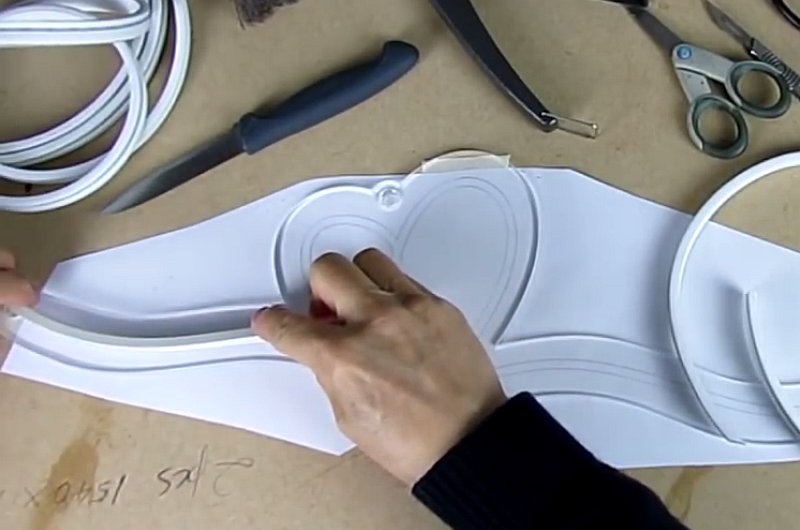
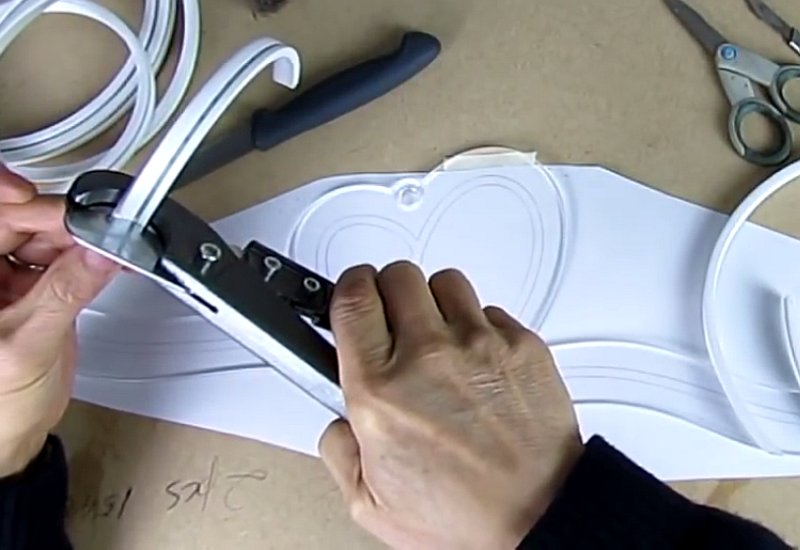
Again, we cut the strip at an angle.
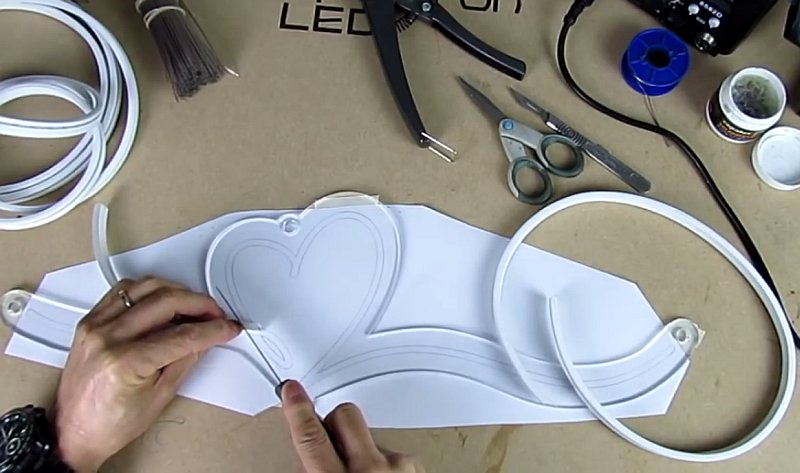
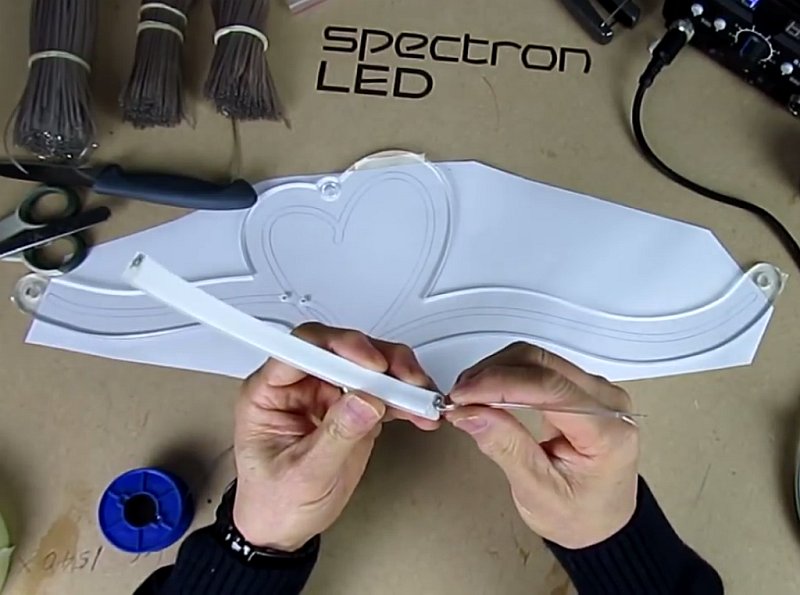
When you cut it, try to cut where the solder point is, here is the one I just cut, you can see the solder point right there.
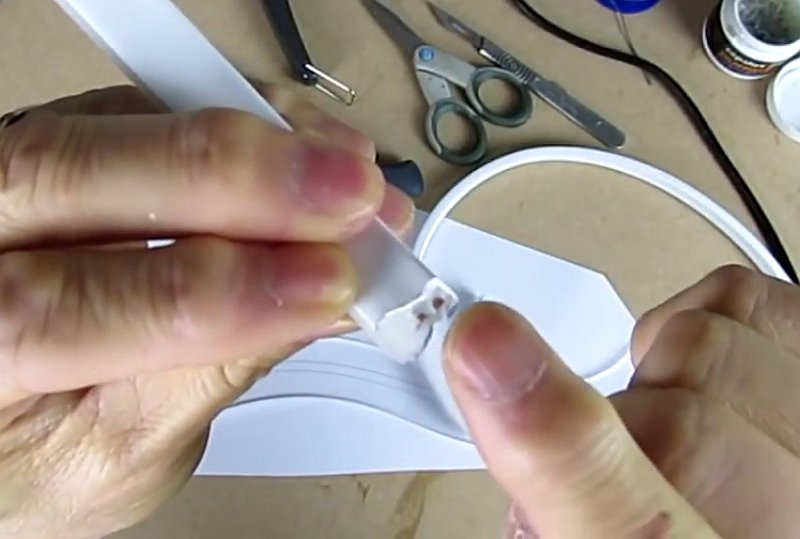
We solder a double cable to these points.
To glue the LED flexible neon strip to the acrylic base, I use glue in a can with an activator in the form of a stick. I put dots of glue on the base at a distance of 20-25 mm and then I lubricate the bottom of the LED strip with the activator.
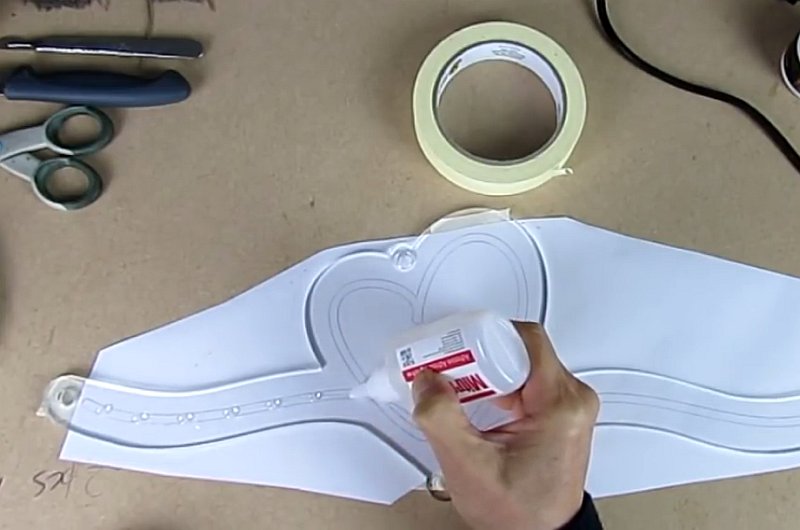
Thread the cable through the holes in the base and then glue the strip to the same base.
Solder the second end of the double wire to the second segment of the LED strip, it is necessary to observe the polarity.
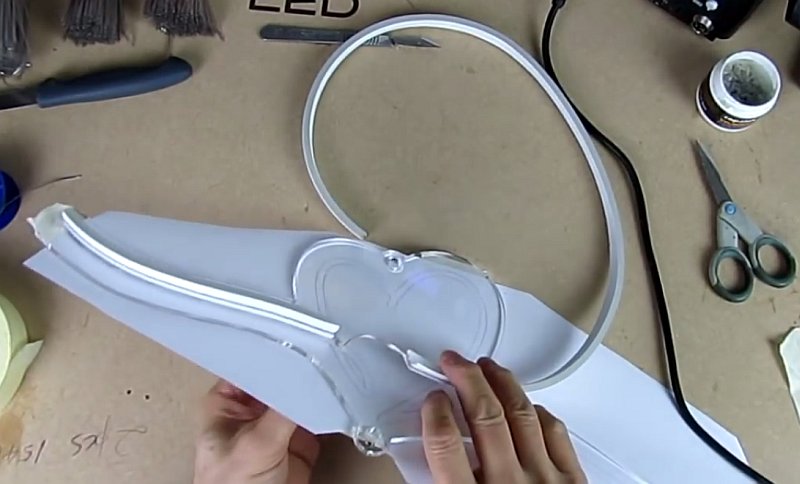
Now we start gluing the beginning of the strip to the base and you also need to glue the ends of the strip to the sides of the silicone strip, so there are no gaps.

Now glue all the rest of this strip to the end according to the template.
Find soldering points at the end of the strip and solder the power wires to them, observing the polarity of the connection.
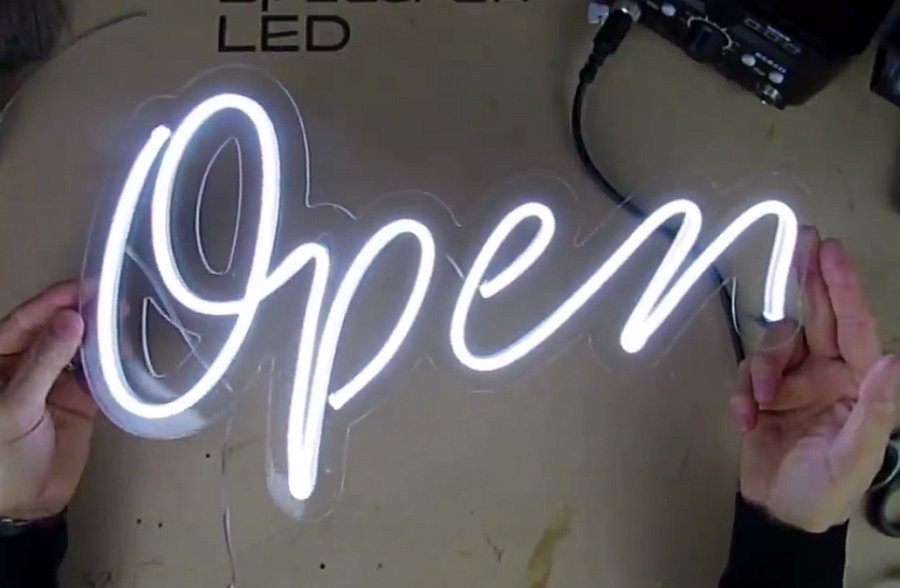
Connect the power supply and if everything is done correctly, our neon sign should light up!
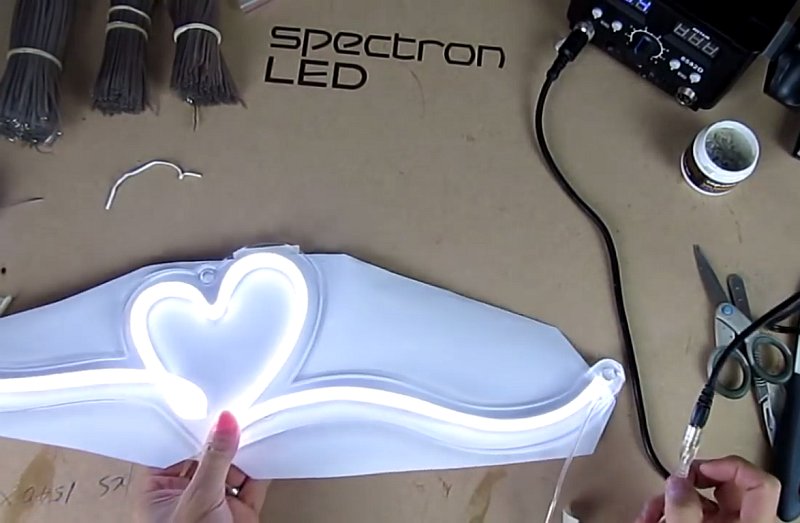
Now I’m just going to show you how to put the finishing touches on, this is the end cap I’m going to glue here onto both the exposed cut ends.
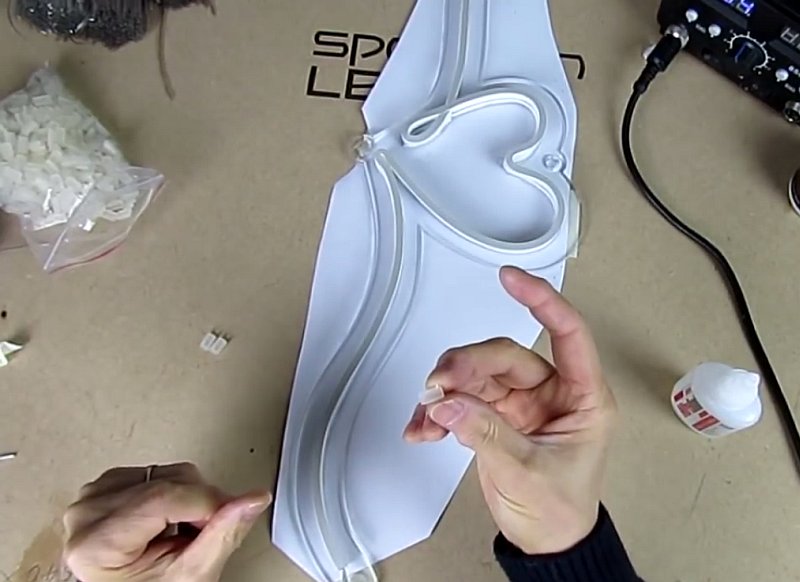
Now remove the paper template and look at the result.
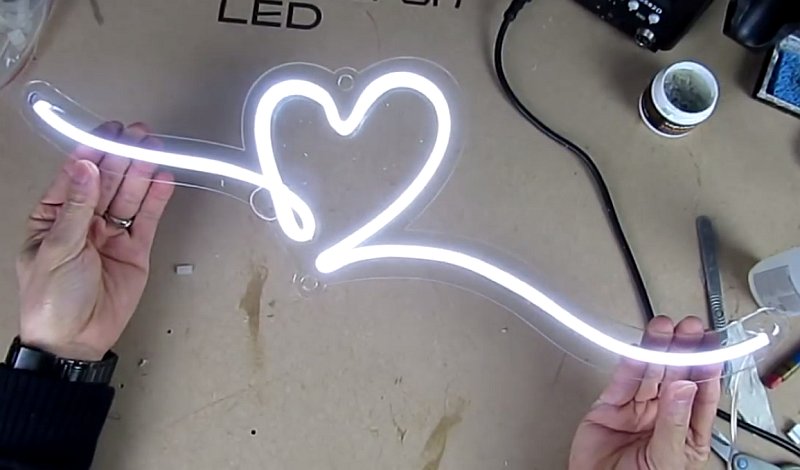
For the second neon LED sign I will use an acrylic base but I will not use a paper template I will make a 5 mm slot using a CNC milling machine. In this groove, the LED flexible strip will be inserted and glued.
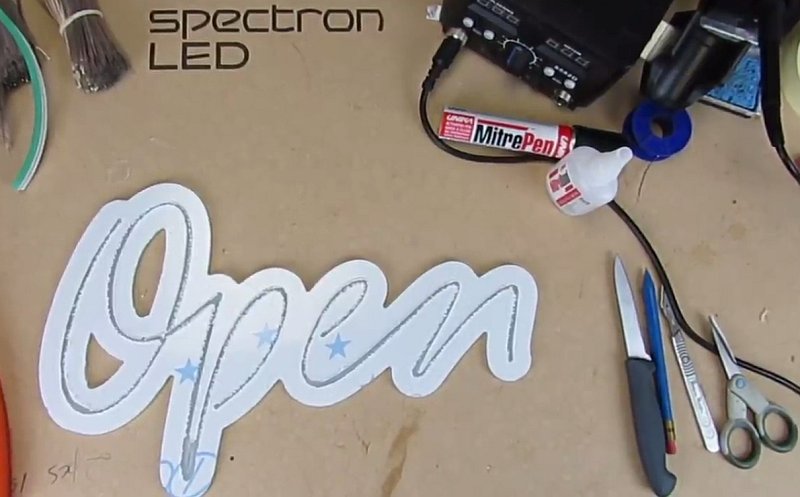
The main difference from the previous version is only one, this is the presence of the groove, and all other operations remain the same.
The main difference between the new neon signs from the previous version of the only one is the presence of the groove; all other operations remain the same: we remove the film, clean it with anti-static cleaner and glue the LED strip. The holes here will be more as the sections of the strip will also be more.
There will be 4 holes to connect the 4 sections of the strip together and one hole for entering the power wire.
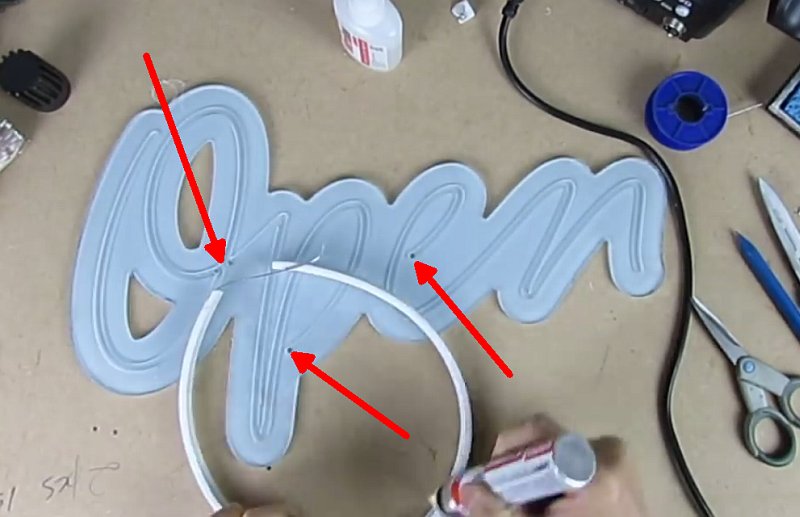
How to make a neon sign with LED flexible silicone strip in detail can be seen in this video:
