Today I decided to make my simplest ultrasonic humidifier on one transistor, I will place it near my plants so that the air near them from the heating radiators is not dry. This electronic humidifier is good for beginners to understand how it works. This simple device has no rare or expensive components and can be assembled by anyone in a few minutes.
Parts and Components:
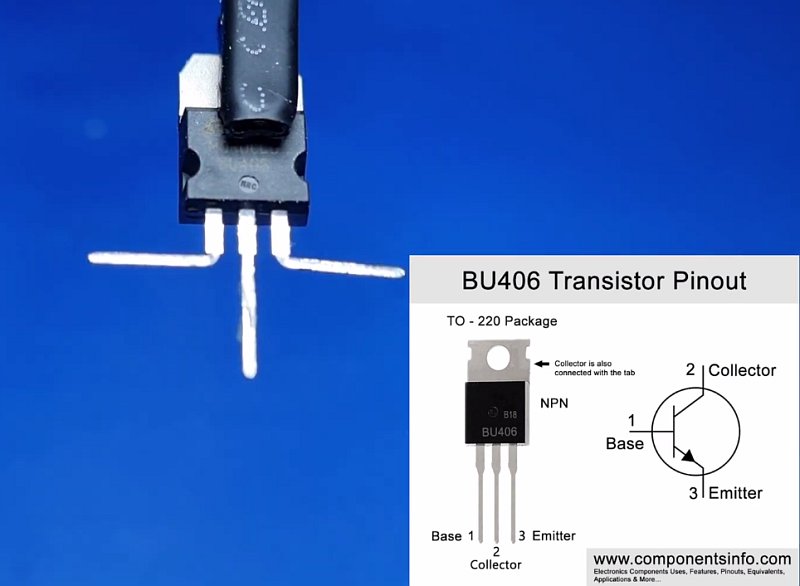
- Transistor BU406 (or 2SC2335, 2SC2502, 2SC3039, BU4070) – https://s.click.aliexpress.com/e/_DFgLQvP;
- 2.2 kOhm resistor;
- 2.2 Ohm resistor;
- 47 nF ceramic capacitor;
- 1 uF ceramic capacitor;
- Inductor 220uH – https://s.click.aliexpress.com/e/_Dl1ttNL;
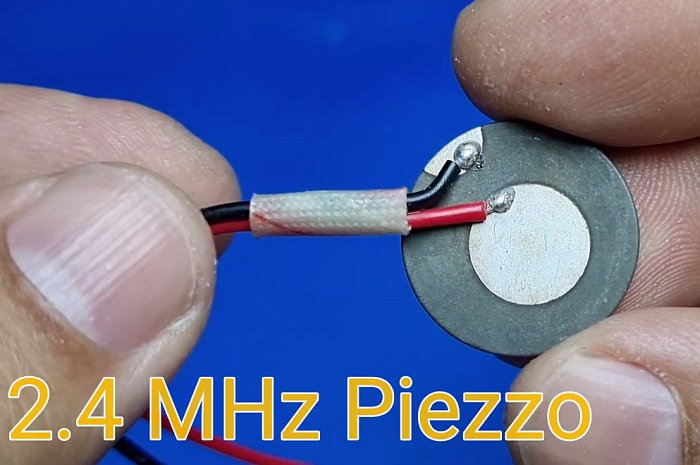
- 2.4 MHz Ultrasonic Piezo Atomizer – https://s.click.aliexpress.com/e/_DnK5vlF;
- Power Supply.
How to make a simple ultrasonic air humidifier, step-by-step instructions:
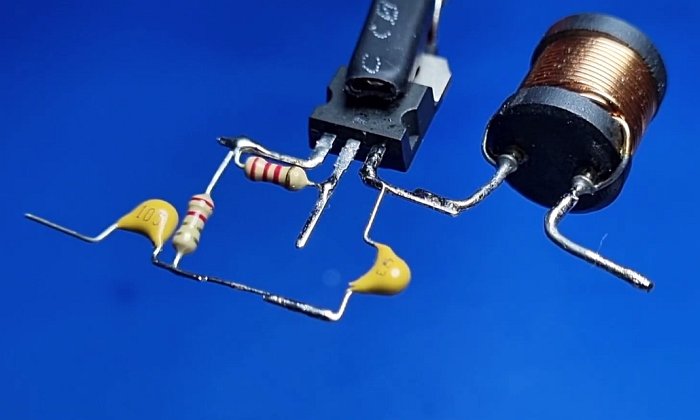
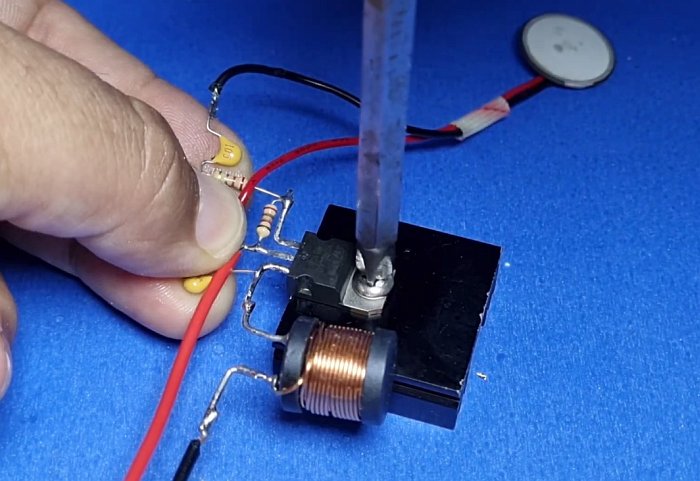
To build a humidifier or fog generator you need a powerful transistor like the BU406. Its pinout can be seen below.
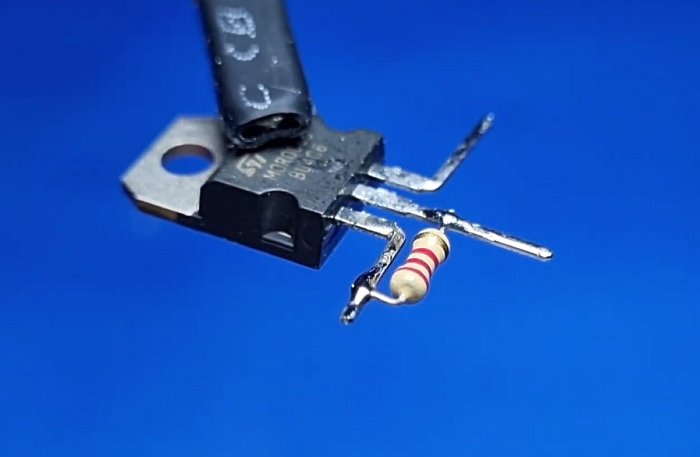
A 2.2 kOhm resistor is soldered between the base and the collector.
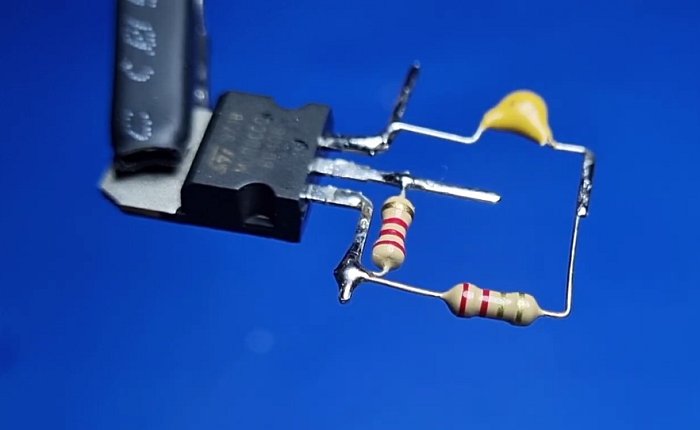
One leg of a 47 nF capacitor is soldered to the emitter.

The 2.2 Ohm resistor is soldered to the second leg of the capacitor and the other leg to the base of the transistor.
Now solder one leg of the 1 μF capacitor to the lead of the 2.2 ohm resistor and the 47 nF capacitor.
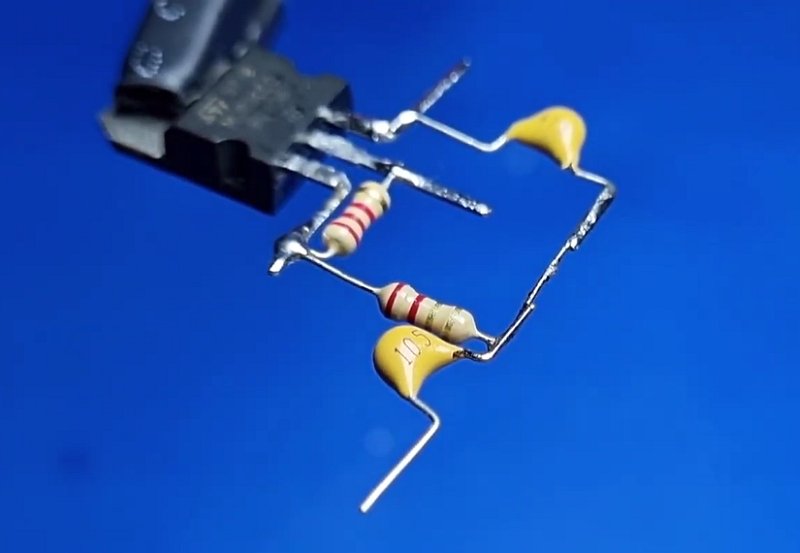
To the emitter of the transistor solder the inductor.
Now take the piezoelectric ceramic ultrasonic atomizer, its red lead must be soldered to the collector of the transistor, and the black one to the second pin of the 1 μF capacitor.
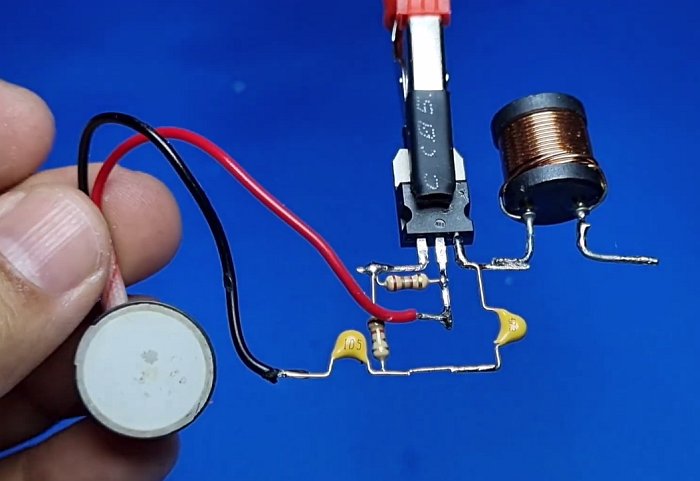
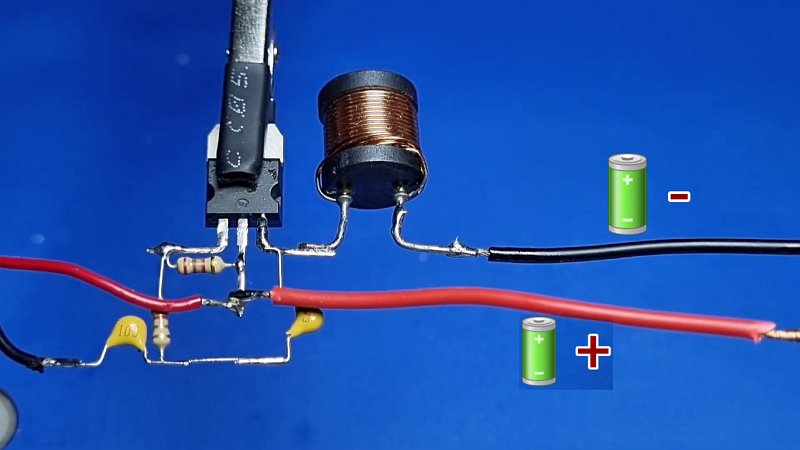
The circuit of the ultrasonic humidifier is assembled and now it is left to solder the power wires, the positive potential (red wire) is soldered to the collector of the transistor, and the negative (black wire) to the second terminal of the inductor.
Since the transistor will get hot when the humidifier is running, we screw it to the cooling heatsink.
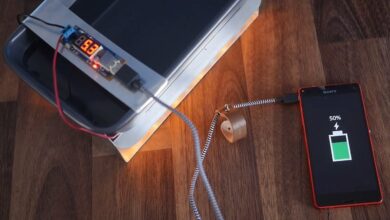
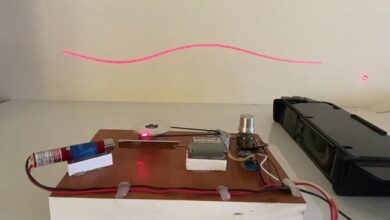
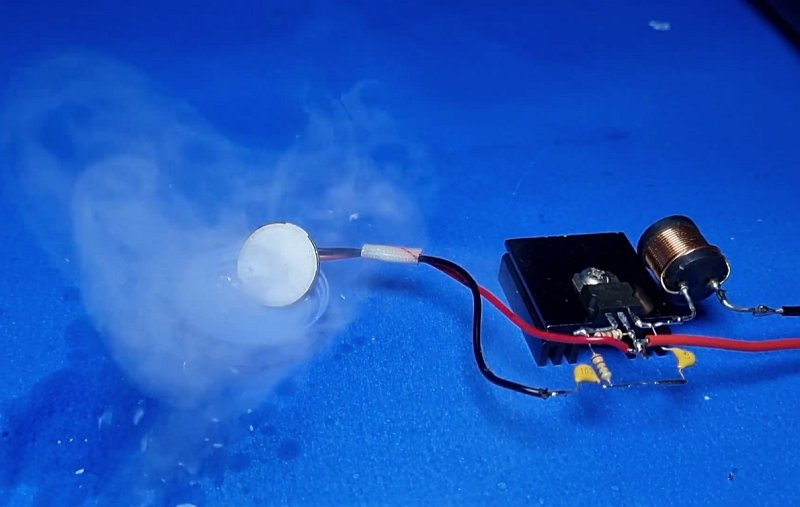
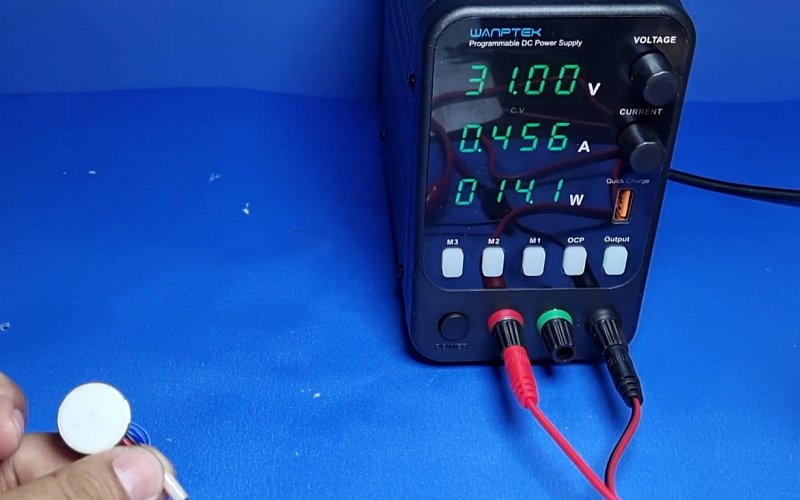
On the power supply, it is necessary to set the voltage to about 30 volts. Dip the piezo emitter into the cap with water and it should immediately begin to evaporate and humidify the air.
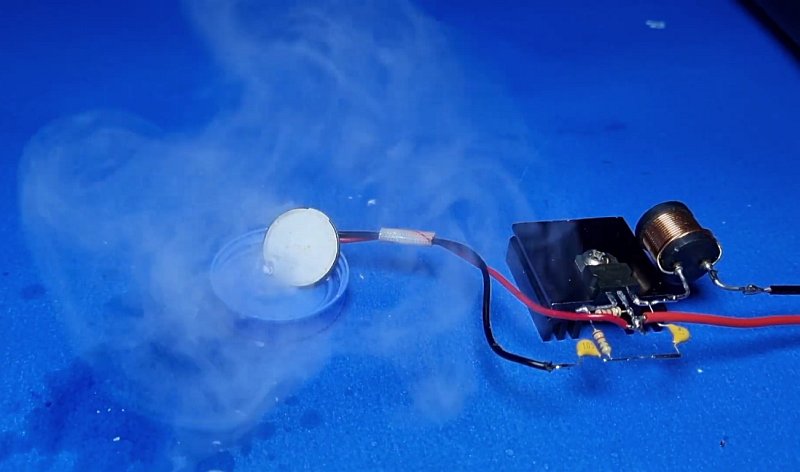
If the piezo emitter is positioned correctly, a thick fog will form around it.
Watch a video of how the ultrasonic humidifier was made on a single transistor and how it works: