Today I have a hot sunny day and for me to be comfortable at my workplace I will make a simple but effective homemade air cooler. This desktop conditioner, although small, can cool the air by about 15-20 degrees from the current one.
Parts and Components:
- Liquid cooling radiator (Cooler Master Master MasterLiquid Lite 120);
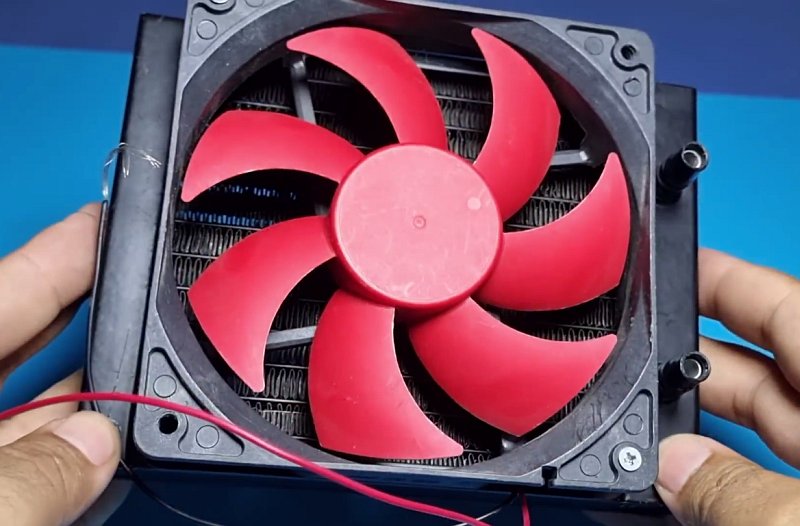
- Fan 12v, 120mm;
- Plastic water tank;
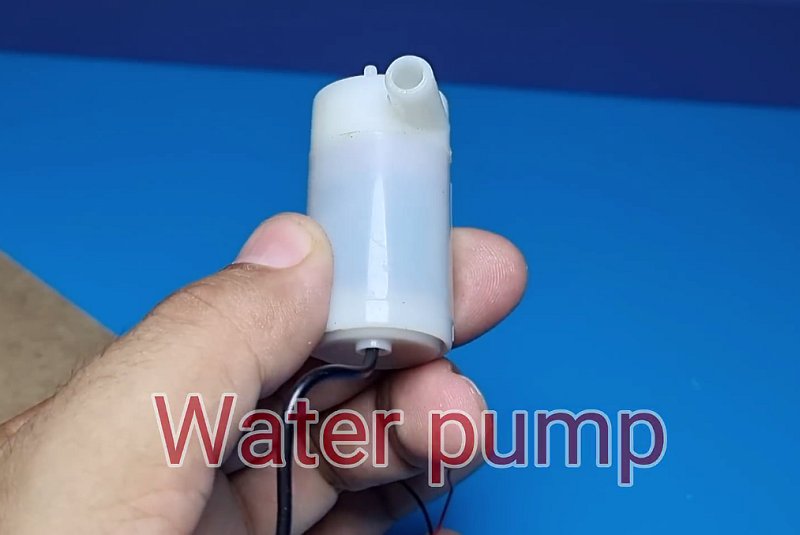
- Water pump – https://s.click.aliexpress.com/e/_DksErlb;
- Silicone tube – https://s.click.aliexpress.com/e/_DBlnKsd;
- IRF3205 transistors – https://s.click.aliexpress.com/e/_DeqBXRf;
- 100k variable resistors.
How to make a portable conditioner, homemade air cooler, instructions:
First, we need to screw the fan to the liquid cooling radiator.
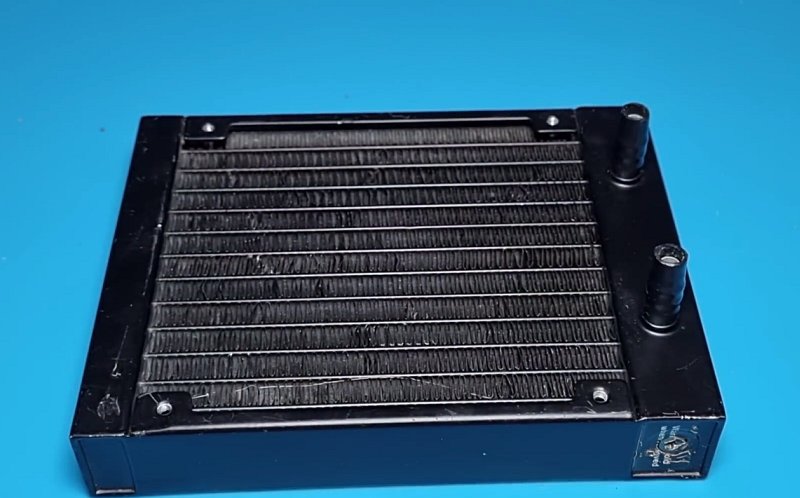
Glue the cooling radiator to the wooden base with hot glue.

Also, glue the plastic water container to the base.
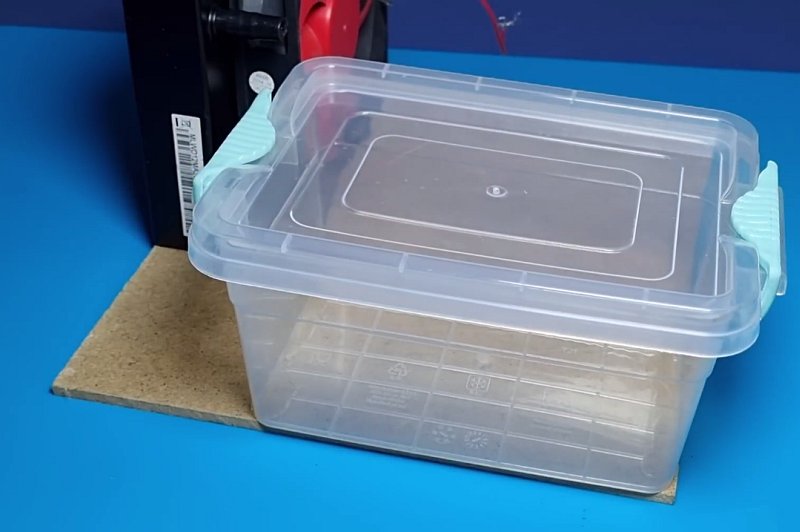
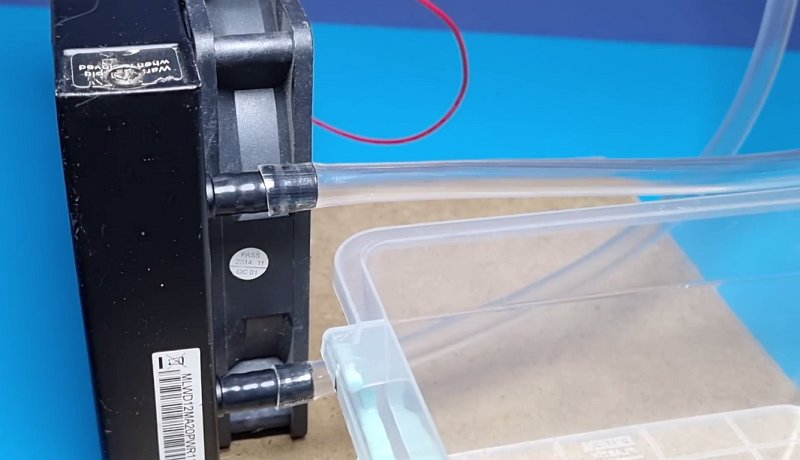
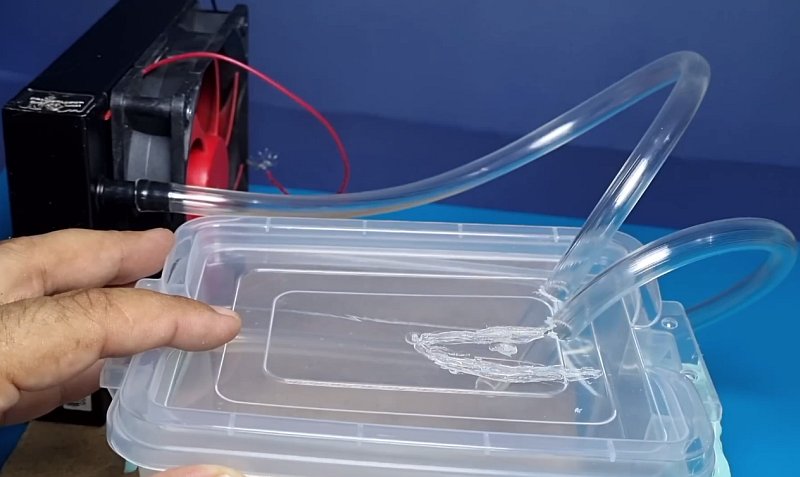
Drill two holes for silicone pipe in the lid of the plastic container.
We need two segments of silicone tube put them on the radiator outlets, and insert the other ends of the pipes into the holes in the lid of the plastic container.
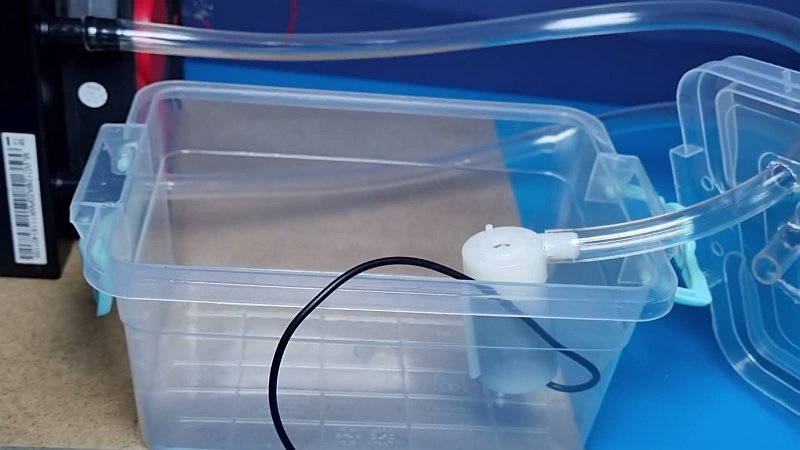
Put one of the tubes on the outlet of the water pump.
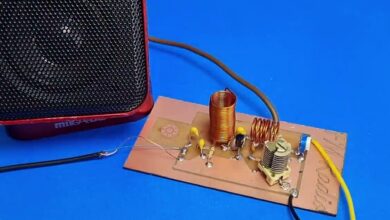
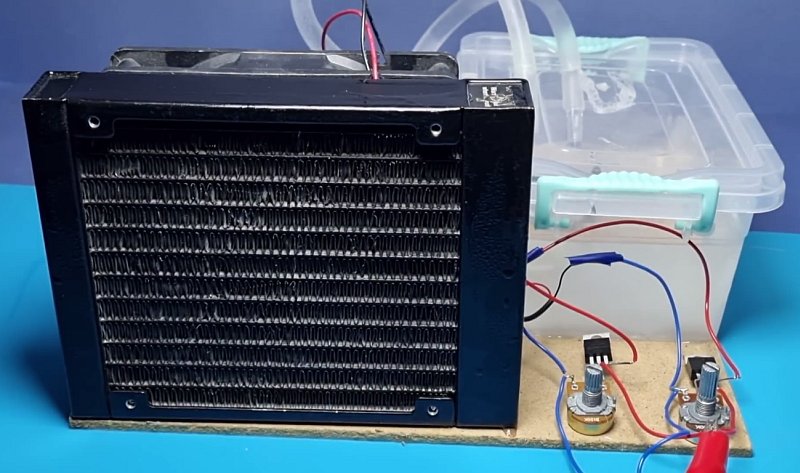
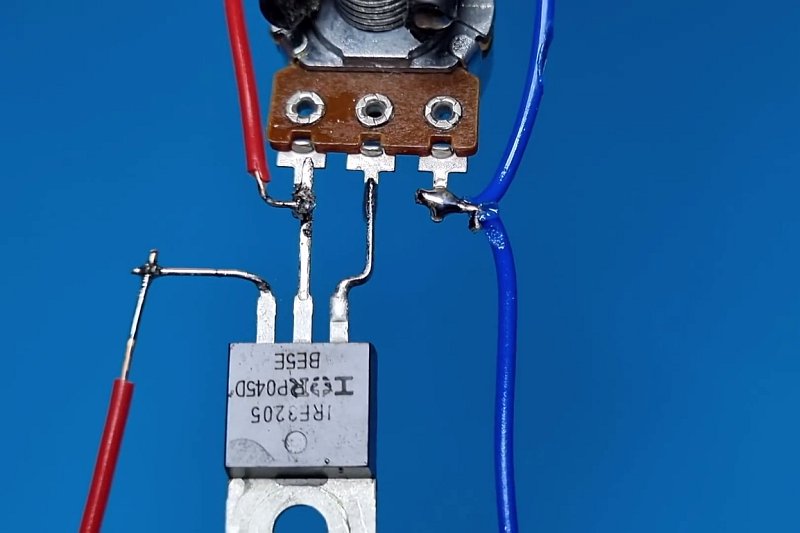
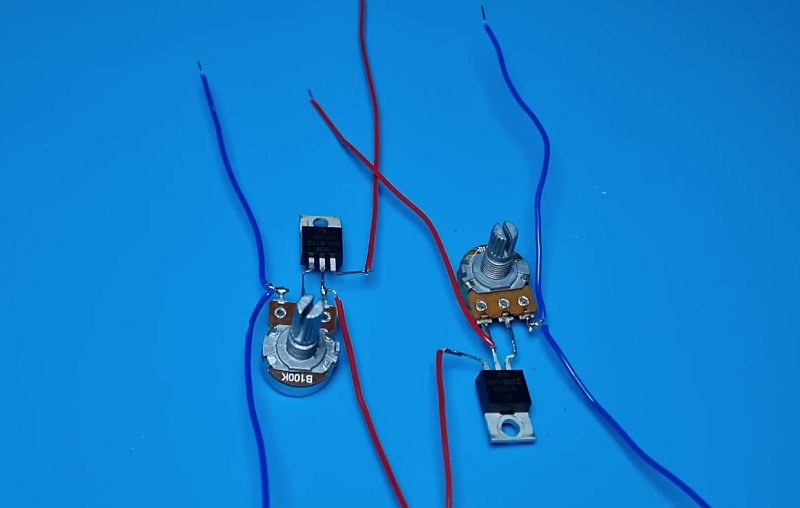
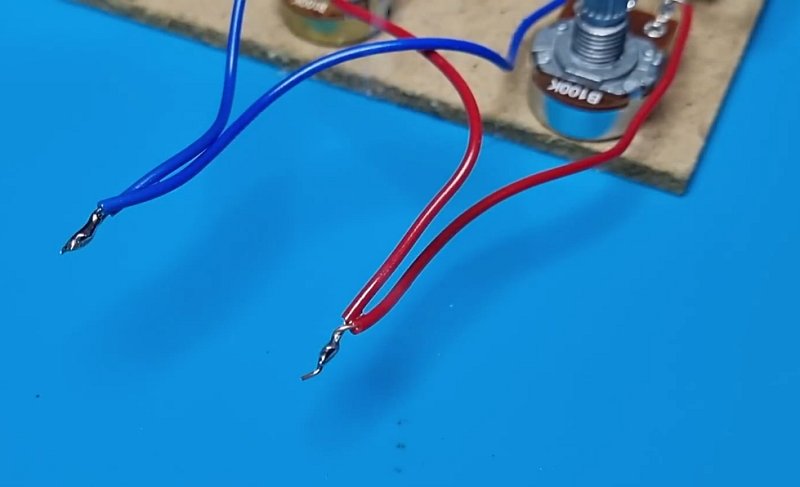
Now we need to solder the schematics for the fan speed and pump speed controllers.
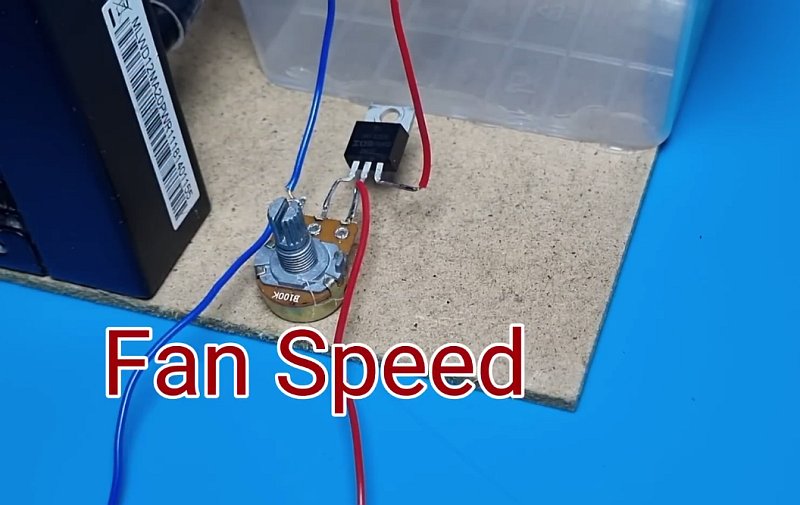
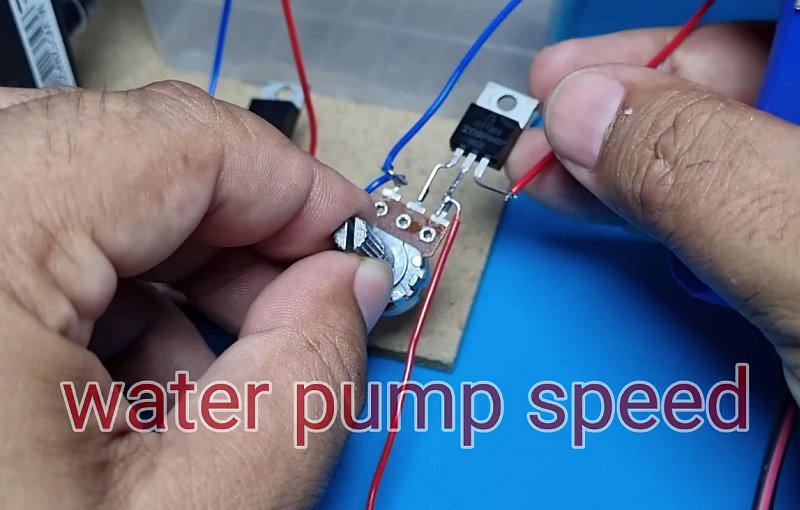
We take an IRF3205 transistor and a 100k variable resistor and solder them together as shown in the picture below. This will be the fan speed regulator, similarly, we do the same for the water pump.
Glue the fan and water pump regulators to the base.
Connect the power inputs of the two regulators.
Connect the water pump to its regulator and the fan to its regulator.
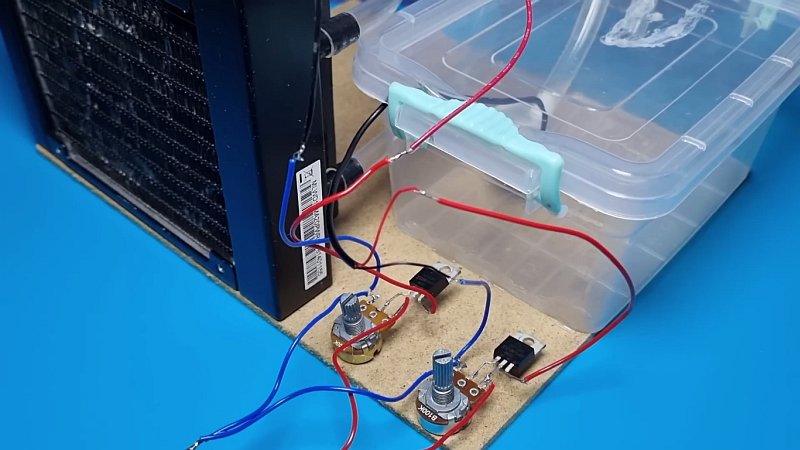
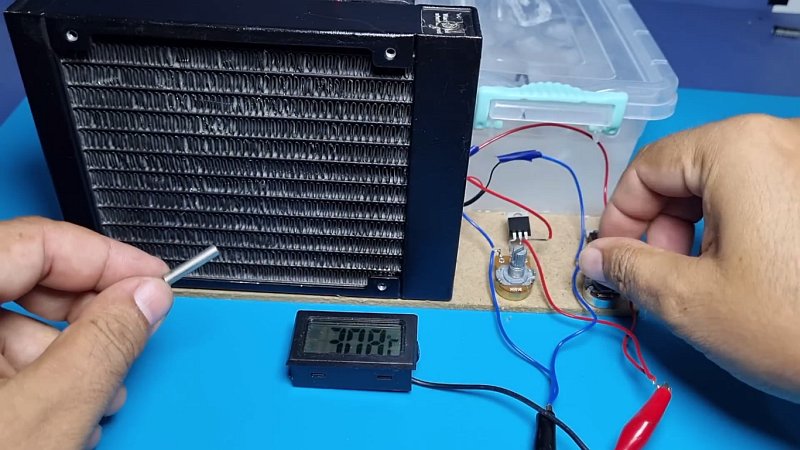
Connect the 12-volt power supply to our homemade air conditioner and check that everything works as it should and that the fan and the speed of the water pump are regulated using variable resistors.


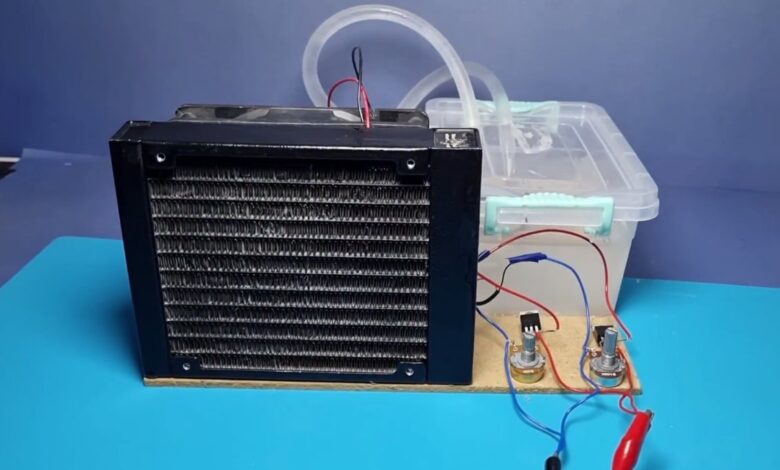
The air cooler is ready! Pour ice from the refrigerator into the plastic container and fill it with water. Close the container with a lid and connect the electric power supply.
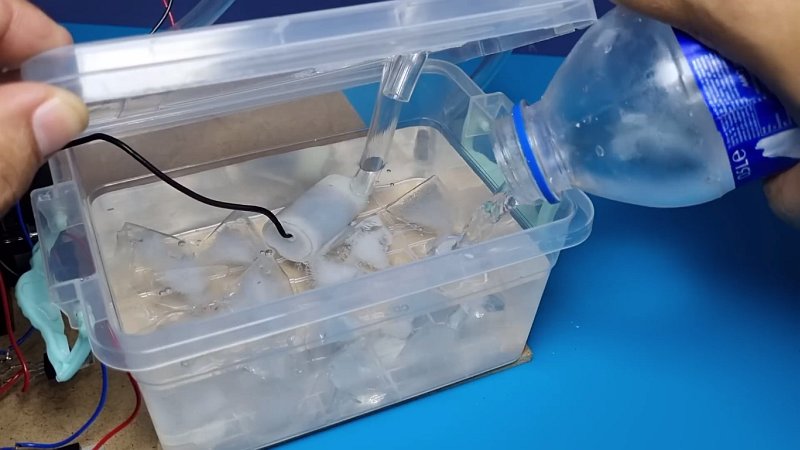
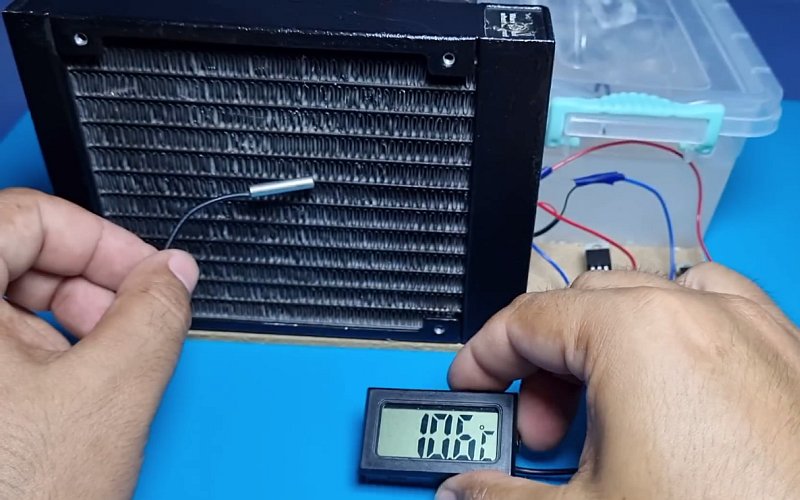
Initially, my room is about 30 degrees of heat. After turning on my homemade air cooler, near the radiator thermometer shows about 11 degrees. The homemade air conditioner works perfectly!