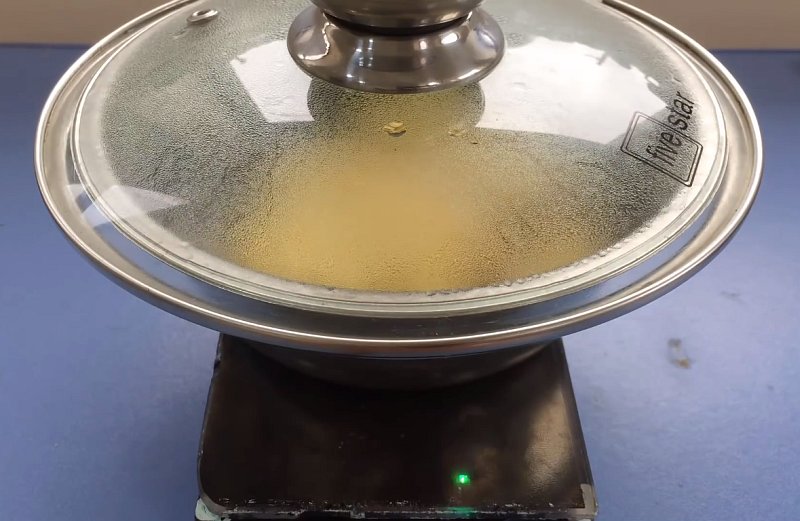
If you need a small but powerful induction stove that fits even in your pocket then this article is for you! This homemade mini induction-cooking stove made from a hard drive may seem like a toy, but it can be used to boil water and cook food.
Parts and Components:
- Hard drive (HDD);
- A fan from a video card;
- Chokes;
- Rectangular magnets;
- IRFP250 or IRF3205 transistors – https://s.click.aliexpress.com/e/_De0ze3T;
- Capacitor 2.2uF 400 Volt Polyester Metallized Film;
- 12 volt, 1 watt zener diodes;
- Diodes or an Assembly of 2 400 Volt Fast Diodes;
- Touch button module – https://s.click.aliexpress.com/e/_DCqoWEZ.
How to make a mini induction stove, instructions:
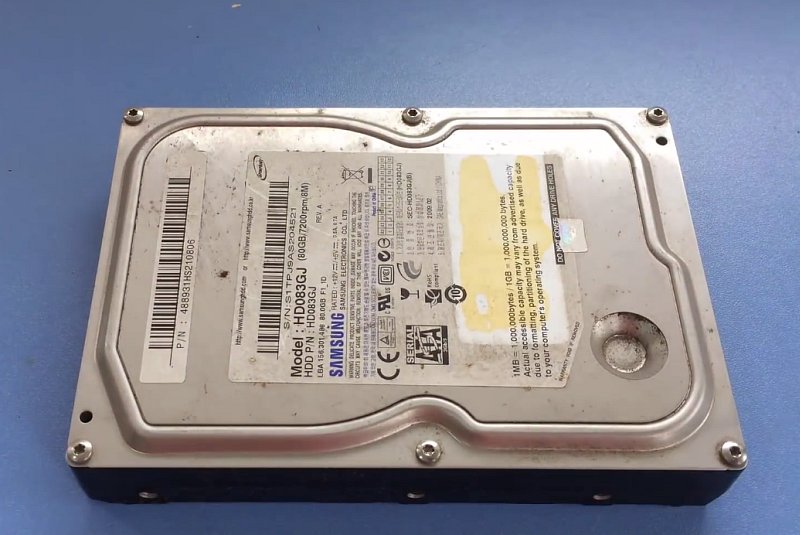
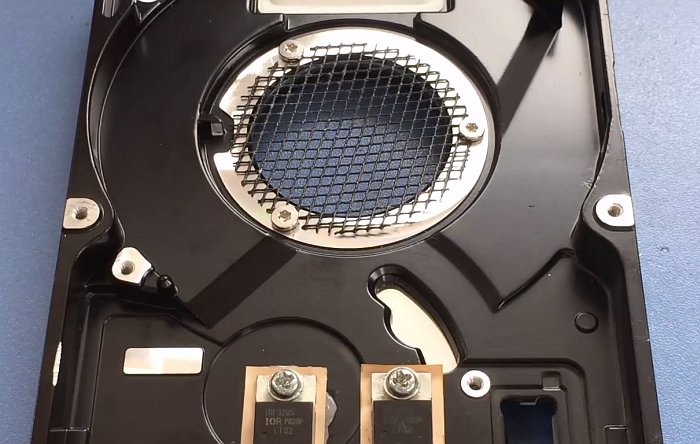
We need an old non-working or unneeded hard drive, it must be completely disassembled, leaving only one aluminum case.
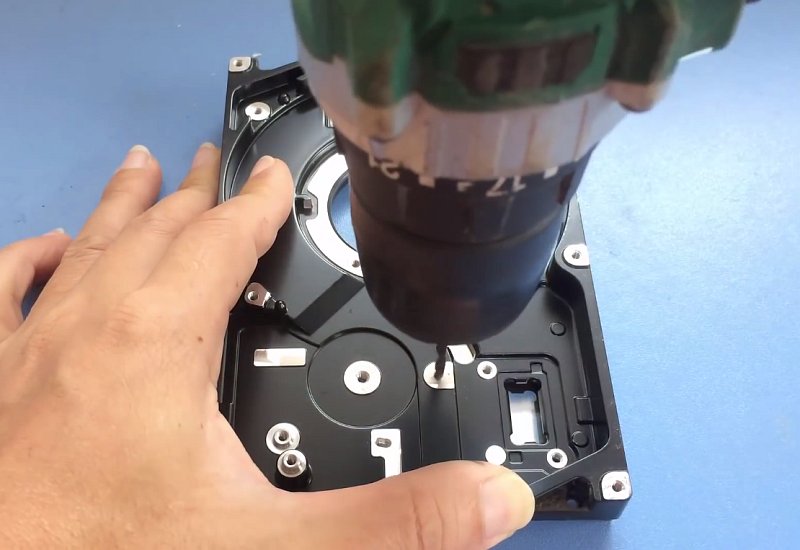
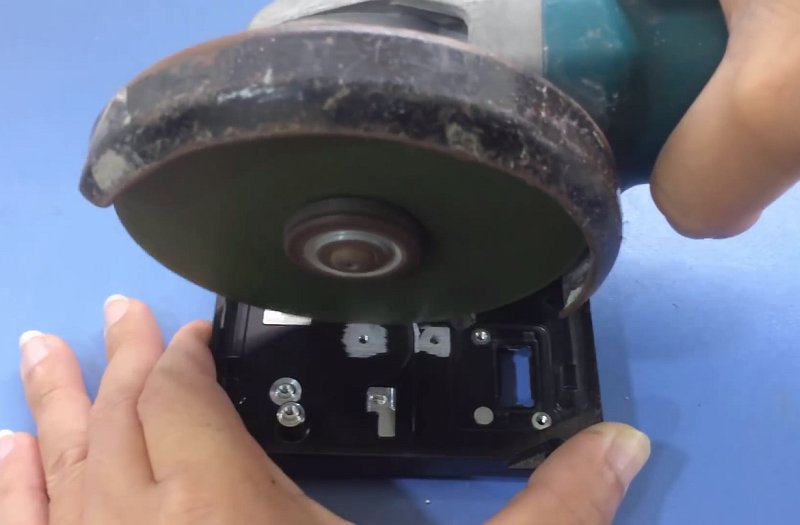
Drill two holes for two transistors, the HDD body will act as a cooling radiator. Using a grinder or Dremel, we make the surface for the transistors flat, removing unnecessary bumps.
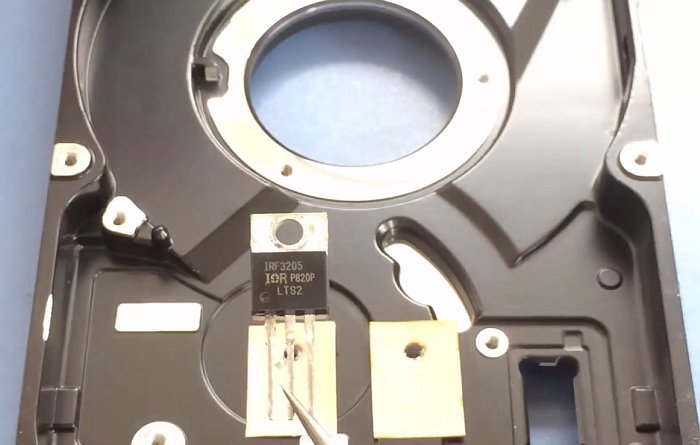
To begin with, it is necessary to screw the transistors, in my case they are IRF3205 to the case, before putting mica sheets.
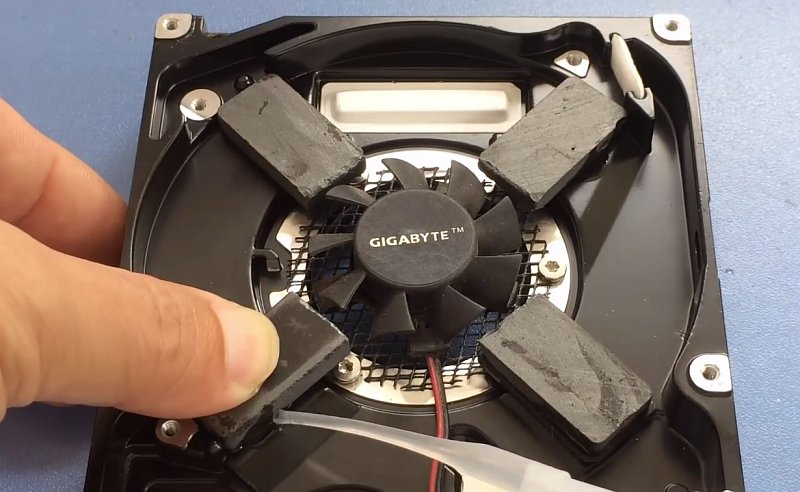
Screw the metal grid to the wide opening in the HDD.
Glue the cooler from the video card to the grid with super glue.

Glue the four magnets around the fan.
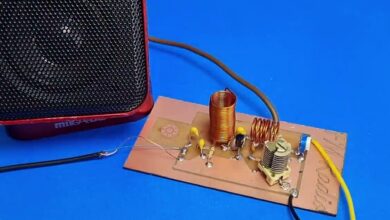
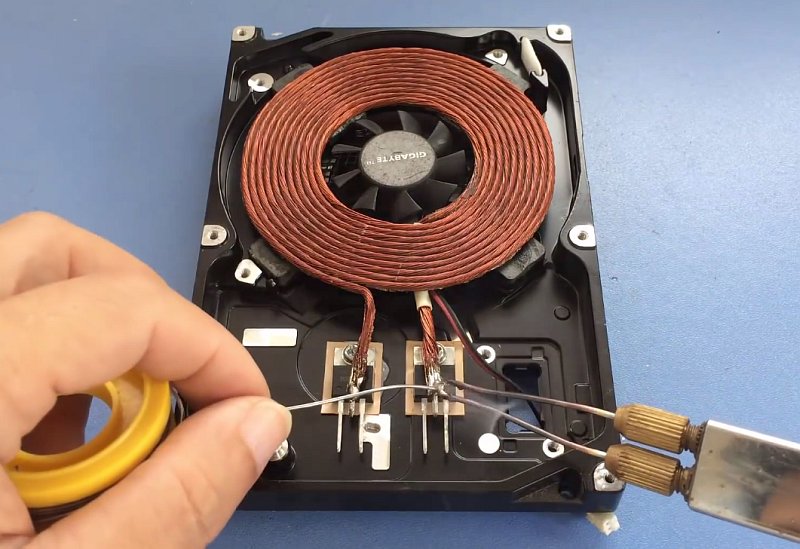
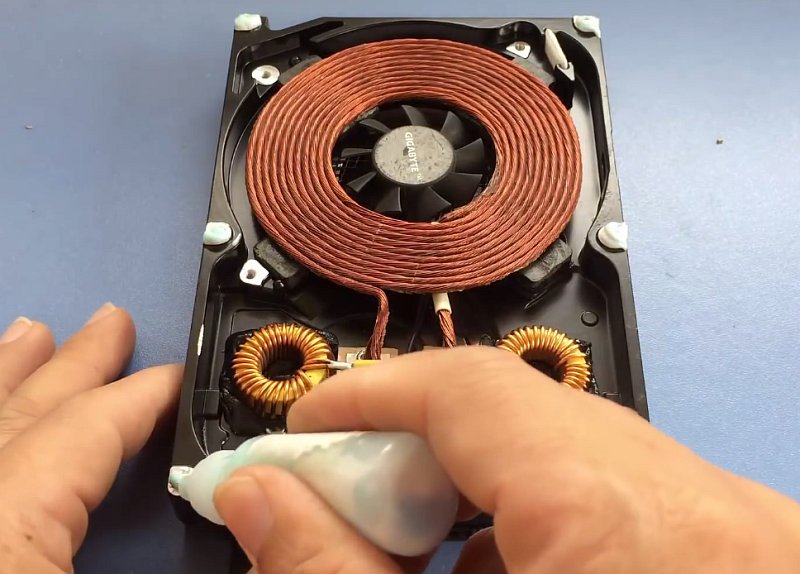
Now we make the induction coil and wind it with multi-wire wire with 11 turns, each of the cores in a bundle in lacquer insulation, the coil should be flat and should fit in the HDD recess. Glue it to the magnets with cyanoacrylate superglue.
A complete schematic of the induction stove:
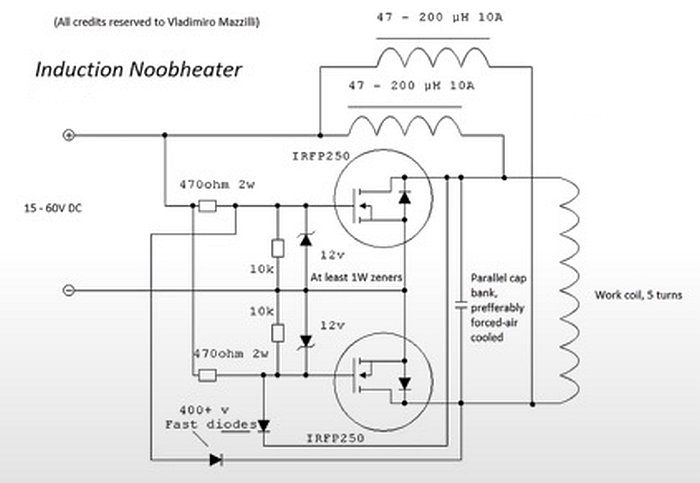
Solder the coil leads to the middle pins of the transistors.
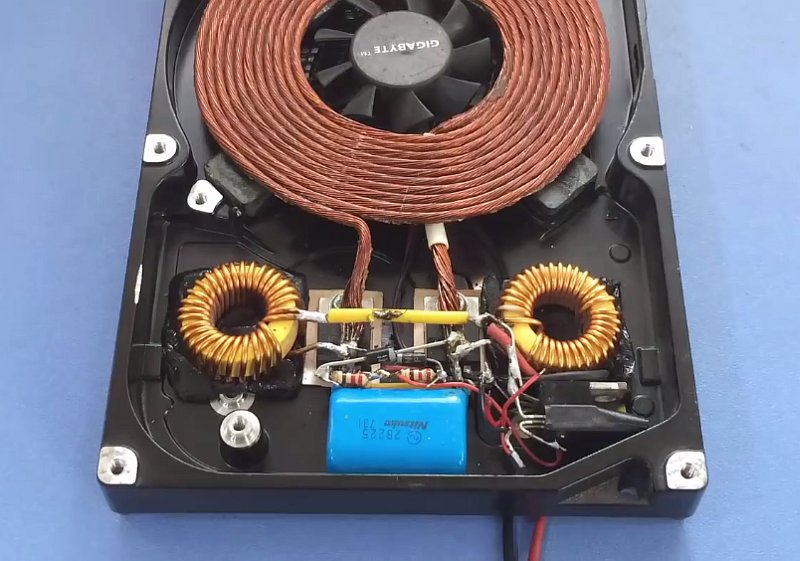
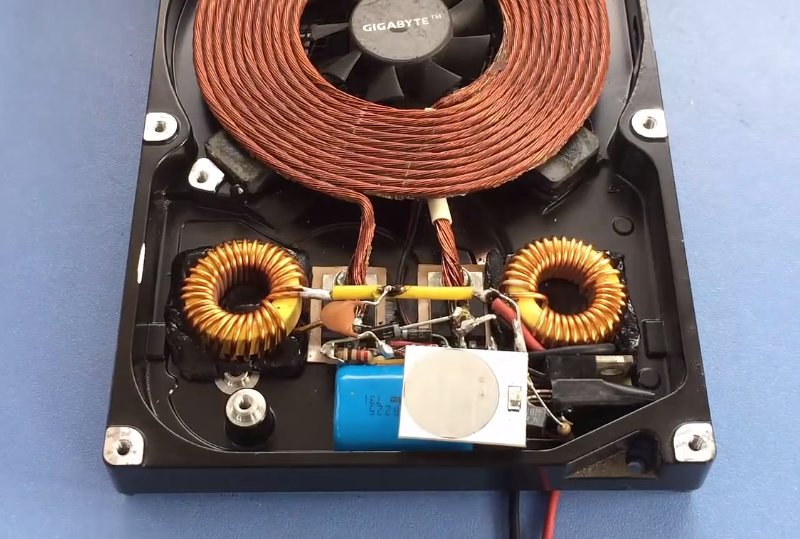
Now you need to solder the chokes, I took them from a computer power supply.

In parallel to the induction coil solder a 2.2uF 400 Volt film capacitor.
All other parts of the induction mini stove are soldered according to the circuit above.
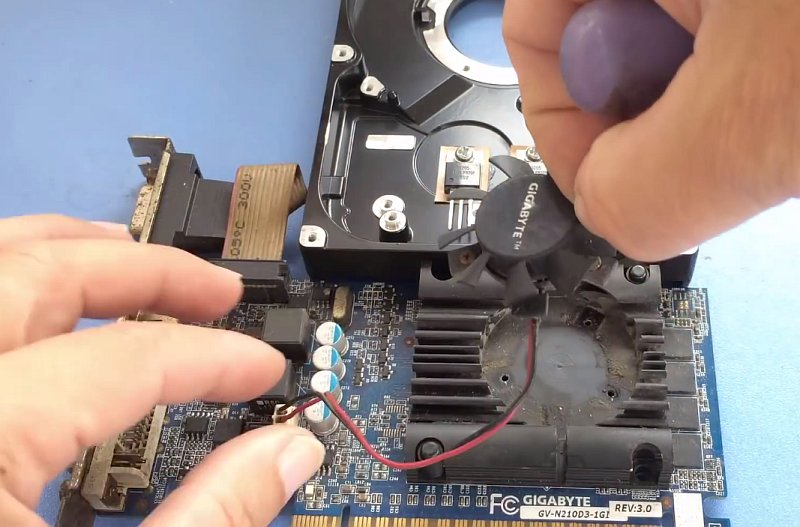
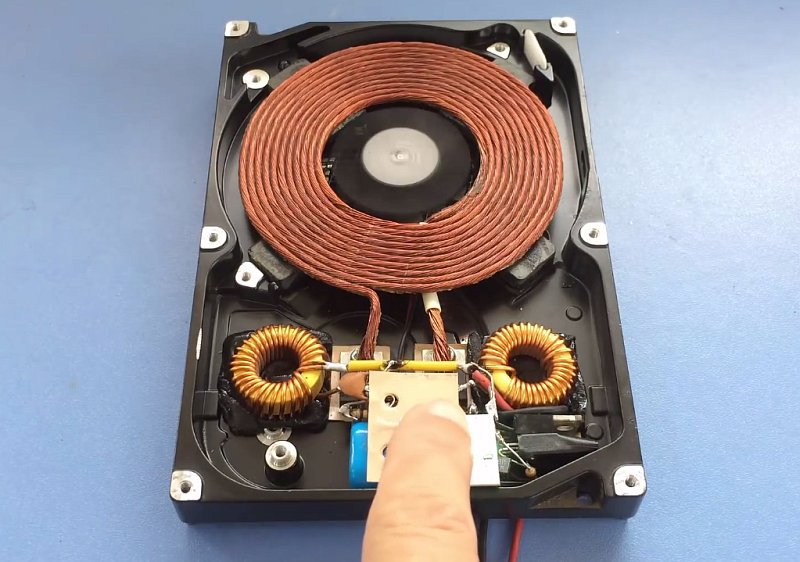
I used a touch button module to turn on the induction stove, I amplified the output of the module with a transistor key instead of the sensor, and you can use a normal toggle switch.
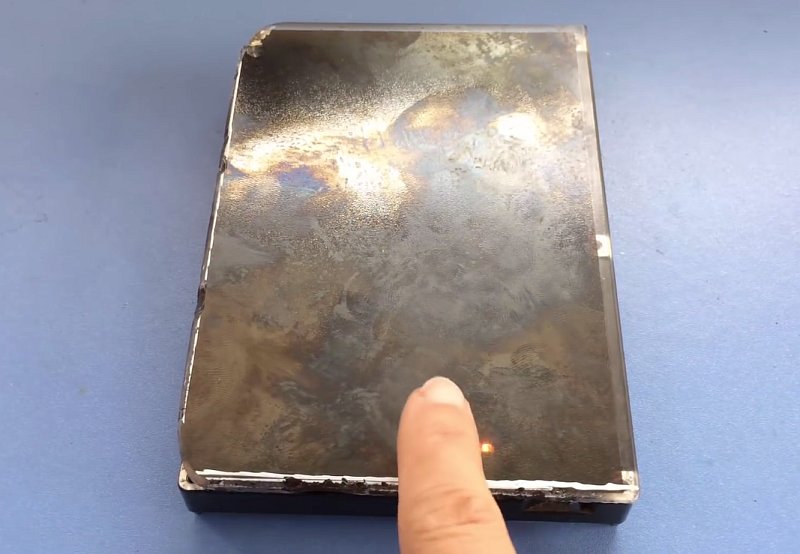
As a surface and cover, I cut a small rectangle from heat-resistant glass to the size of the hard drive and glued it on with silicone sealant.
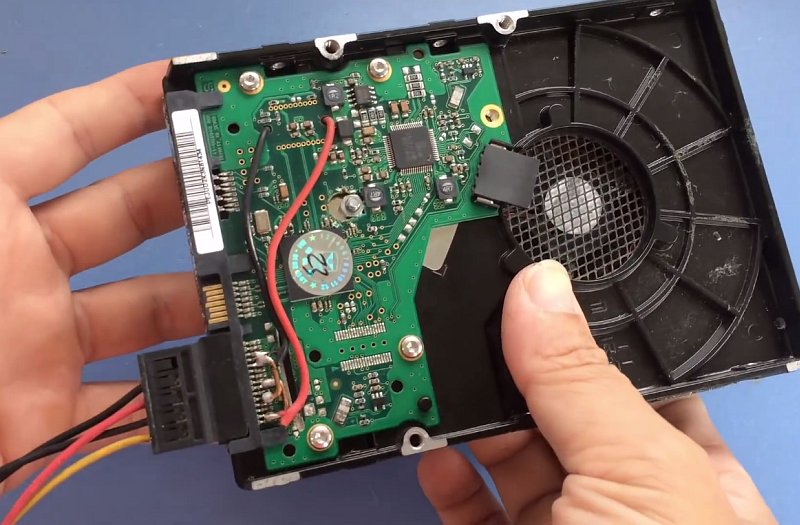
So that the power wires could be easily disconnected, I screwed the native PCB from this HDD by cutting off the connector from the circuit and slightly modifying the board.
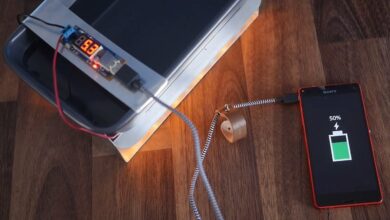
To power our device, we can use a 12-volt battery or a powerful power adapter.
That’s it, my homemade powerful mini induction stove for cooking is ready, it’s time to cook dinner!
Watch a video on how an induction stove works and how it was made: